Bones and Skinning - Hierarchy & Skeleton |
||
Warning: Here we make of Character Setup for an animation for example but simply to create a skeleton with a hierarchy. To be able to give installations to Joan. Not opposite and different kinematics but just an animal skeleton in direct kinematics. |
||
|
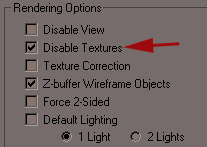
Before starting, change the view of the viewport to wire frame, go into Customize/Viewport Configuration. This accelerates the refresh rate largely. |
|
 |
|
|
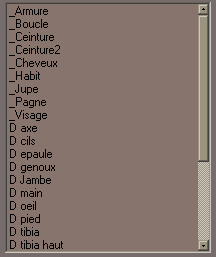
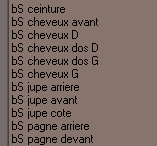
Before designing the skeleton, name all the objects of the character. The nomenclature hardly has importance, but it is easier to find parts of our our object later, this is practical and logical. |
|
|
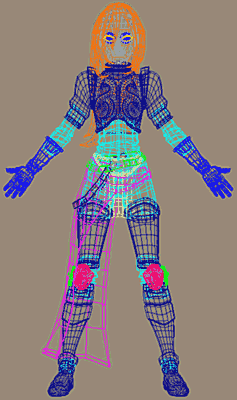
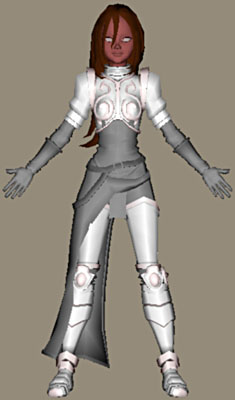
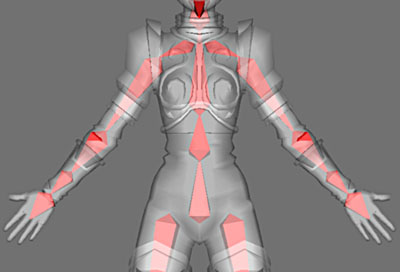
The character comprises rigid parts of armour and of the flexible parts of clothing, the skirt, the hair or the face (neck). The rigid objects will be simply connected to the corresponding bones by a simple bond and the remainder will be the subject of skinning. Hide the accessories for the moment and leaving only the body viewable. |
||
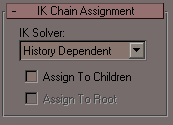
Go in the panel Create/Systems then Bones. Chose History Dependent. |
|
|
|
|
||
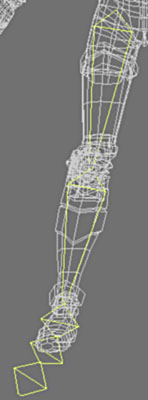
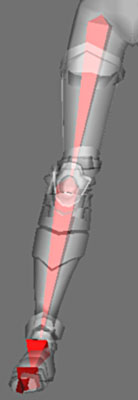
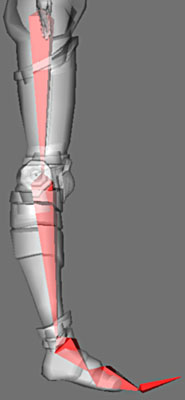
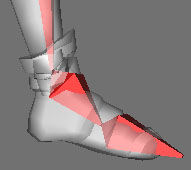
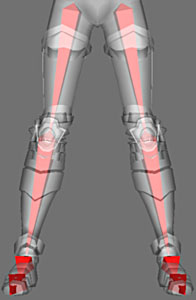
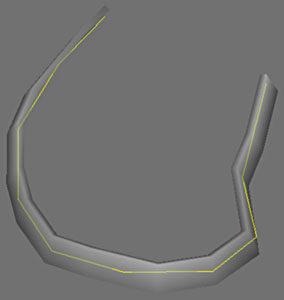
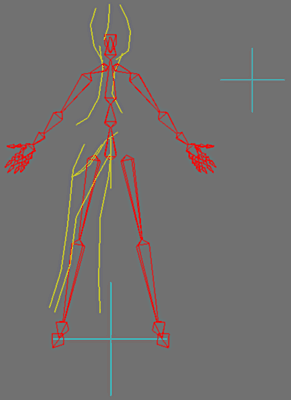
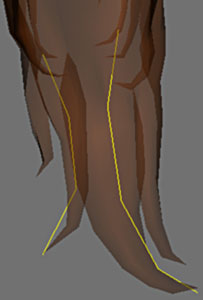
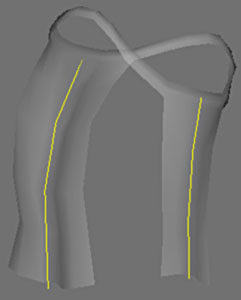
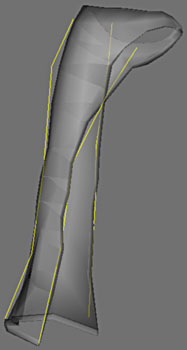
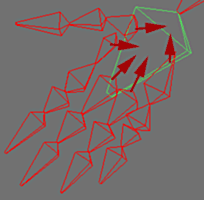
Build the chains of bones for the leg, as shown in this example. Finally erase the last bone which was used only for the adjustment. |
|
|
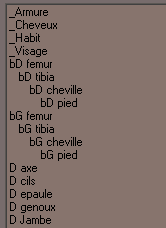
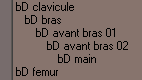
Name the bones, here the nomenclature is B for bone, D or G for the with dimensions we followed by the anatomical name. |
|
|
 |
|
|
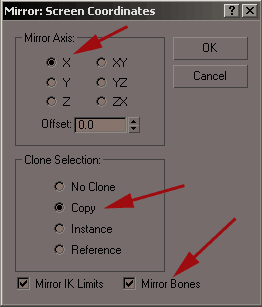
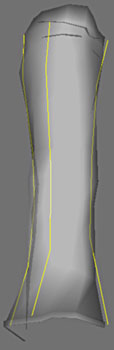
Select the chain of bones and in the Front View make a Mirror Copy according to X, activate Mirror Bones to make a symmetrical copy local axes of those. |
||
  |
||
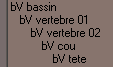
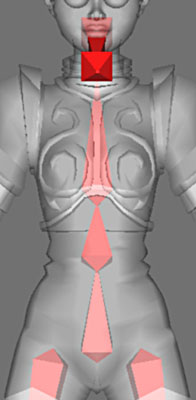
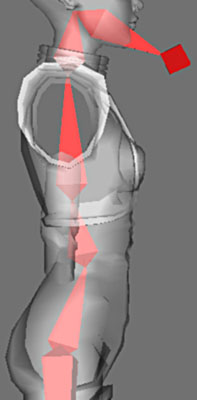
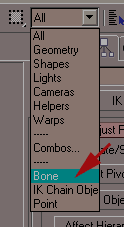
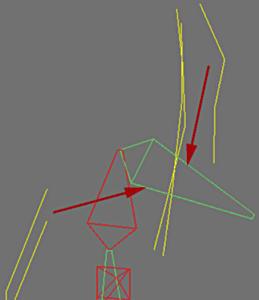
With the tower of the spinal column. Select the bones, activate Bone in the type of selection object. As previously adjust the articulations. |
 |
|
Name the bones. |
|
|
 |
||
 |
||
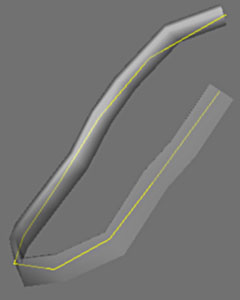
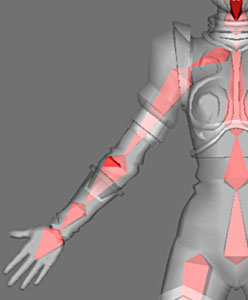
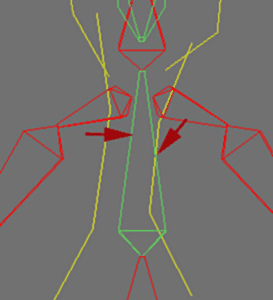
Chains of bones of the arm. Note that before arms two bones receives, to allow the movements of pronation and specific supination to this part of the skeleton. |
||
 |
 |
|
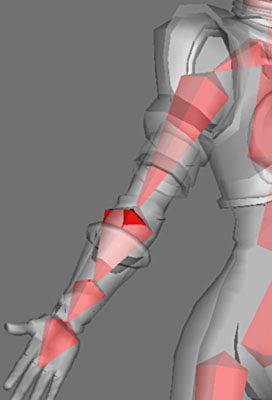
Name the bones and make them symmetrical. |
||
|
||
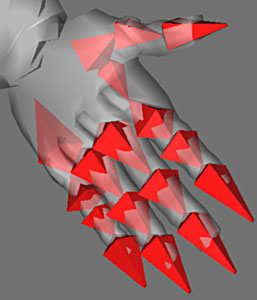
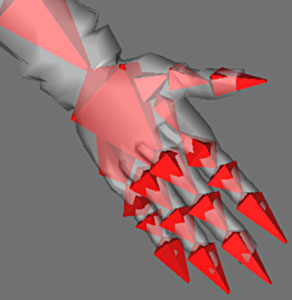
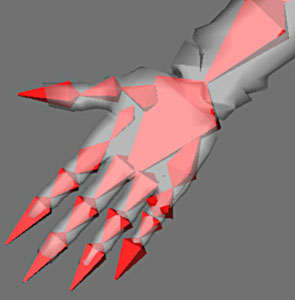
The Bones of the fingers with nomenclature on the right. |
|
|
  |
||
|
|
||
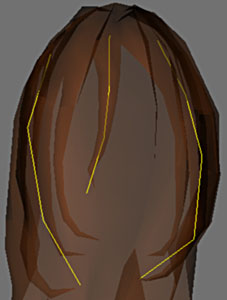
When regulating the hair mesh, rather than using traditional Bones objects we can use Splines. Each spline is seen as a bone but a bone which we can move the points of controls freely.
Here all 5 splines correspond to mesh. |
||
 |
|
|
 |
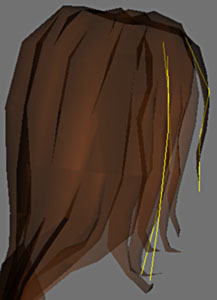
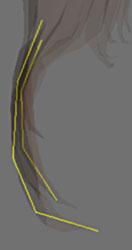
The loincloth with two splines |
|
  |
And also finish the skirt with 3 splines as well as the belt with a spline. |
|
|
|
||
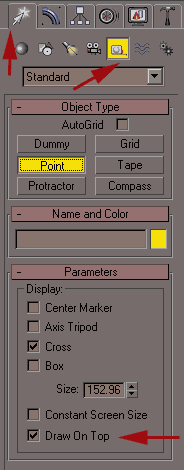
To finish the preparation of the hierarchy of the skeleton it is necessary to create what is called the ROOT. A relative object all of bones use which is used to move the character as a whole. Go into Create/Helpers then Point. Select and Draw one Signal and make this Point object quite visible over the other objects. |
 |
|
|
Create it at the base of the character between the feet opposite. Name it ROOT. |
|
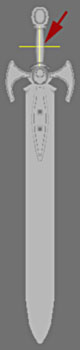
Make another the same way for the sword while placing a Point on the handle as opposite. This point will be the manipulator of the sword to direct it or move it for example. |
  |
|
Nomenclature for the bones splines, should be as comprehensible as possible. |
 |
|
|
Hide all the objects except the skeleton |
|
Now we need to join the dependent parts of the skeleton so as to make one skeleton. Activate the Select and Link icon, click on a bone of one of the fingers (the first its chain) then move the cursor until meeting the hand bone, the icon changes form, release the left button and the bond is made. Repeat the operation for each finger. Each finger is now connected to the hand (linked). |
|
|
 |
||
 |
Do the same with the hair splines by linking them to front of the head. |
|
 |
Connect the Shoulders on the bone vertebra. |
|
Connect the Femurs on the bone to the hips. |
 |
|
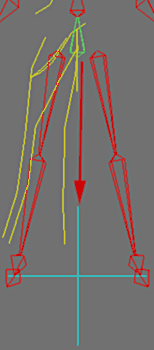 |
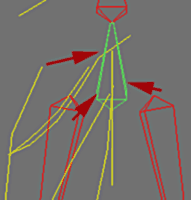
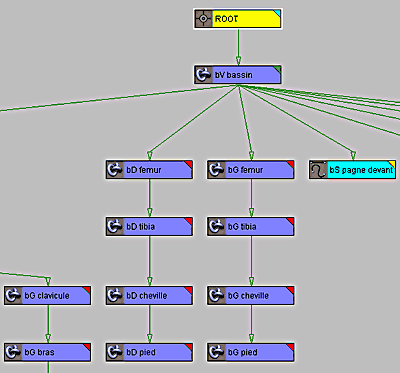
Finally connect the hip bones to ROOT bone. Also connect the control point of the sword to the right Main bone. Now when you move ROOT bone, the skeleton should follow (without displacement). |
|
 |
||
 |
||
|
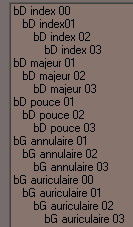
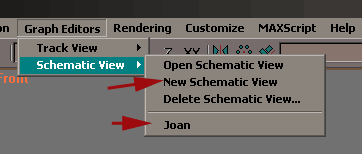
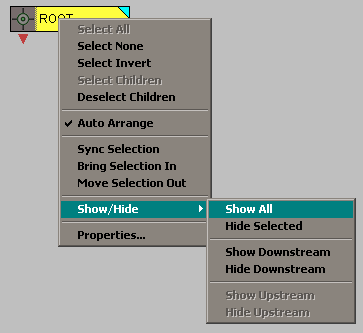
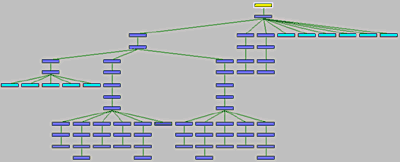
We can See the whole of the hierarchy of the skeleton by using Schematic View. In the window which appears we can name it, here Joan, click Reference mode then click on Filters. |
||
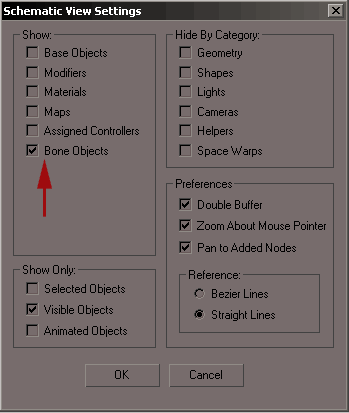 |
Show only the bones to simplify the graph.
|
|
 |
|
|
|
||
 |
||
 |
||
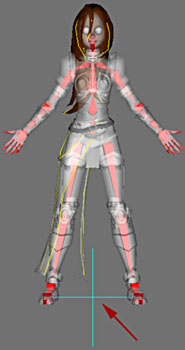
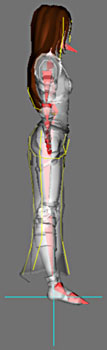
The whole skeleton is Displayed, we can zoom and see the names and check the hierarchy. |
||