Texturing the Eyes |
||
Model an eye and apply textures.
This tutorial is an extension of the tutorial on Joan of Arc but the principle is applicable for any character.
|
||
|
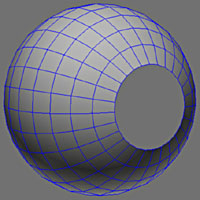
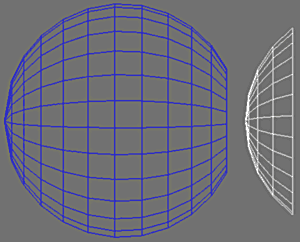
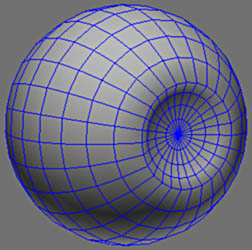
At the time we modeled the head, we used a sphere for the eye. We did not worry about the division number of it. |
|
 |
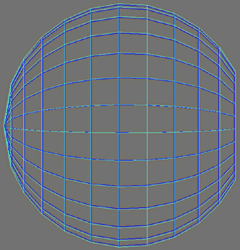
Select the sphere and chose an adequate number of segments to have a good size pupil. |
|
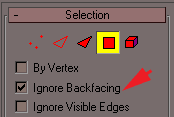 |
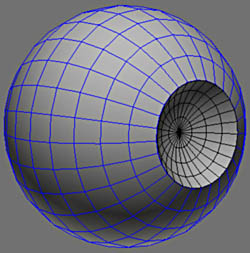
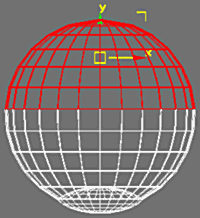
Make a copy of this sphere (Edit/Clone) and hide it, we will need one later. Select the faces corresponding to the pupil and delete them (activate Ignore Backfacing to select only the visible faces).
|
|
 |
||
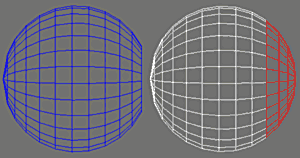 |
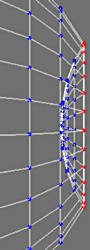
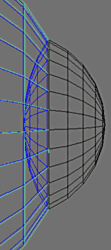
Unhide the first copy of the complete sphere. Select the faces opposite. |
|
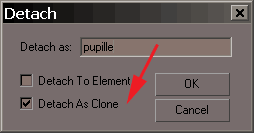 |
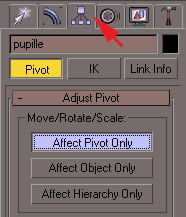
Detach these faces and chose Detach As Clone to preserve the intact sphere. Name this object Pupil. |
|
 |
 |
|
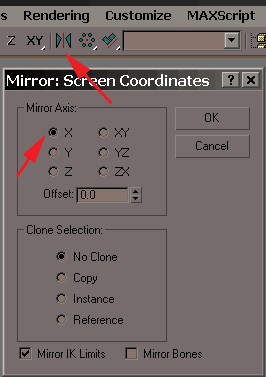
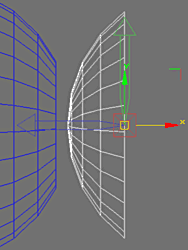
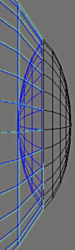
Select the pupil object and apply Mirror to axis X. |
||
 |
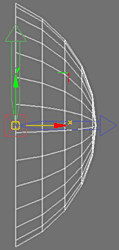
Now redimension the object make it match the eye, Move the pivot point as opposite. |
|
 |
||
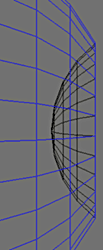 |
Move the pupil and redimension it with scale. |
|
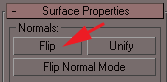 |
Reverse the normals of the pupil in Face mode. |
|
 |
||
 |
Finally use non-uniform scale on the X axis matching the pupil. |
|
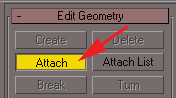 |
Attach the pupil to the eye with Attach. |
|
 |
||
 |
Select the common vertexes and weld them using Weld Selected. |
|
 |
||
 |
 |
|
Unhide the Cornea object and apply a uniform scale of 101%. The spheres are very close but are not superimposed. The Cornea will be transparent to make it possible to place reflections and brightness on the Ocular sphere |
||
 |
 |
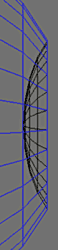
As for the pupil, detach the sphere cap using a pertinent band of faces, place the pivot correctly and adjust the size according to the hole of the cornea. |
 |
Squash the cap with non-uniform scale, attach and weld as we did before. Here the cornea of the eye finished. Next we will map and texture our Eye... |
|
|
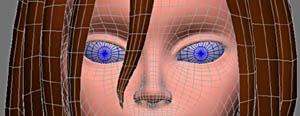
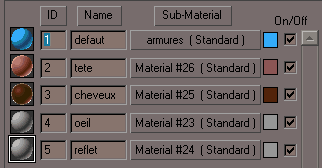
Select the Ocular object then Attach the Cornea object. As this Ocular object belongs to the head we will assign the same Multi-Sub/Object material to it (see the mapping head ). Select the Eye and apply this material to it. Select the internal sphere in Element mode and enter 4 within Material ID, start again for the external sphere with a value of 5. For more precision on all that, to see the Bases of the mapping . |
|
|
||
 |
Before placing the co-ordinates of mapping, select the faces shown and delete them. |
|
 |
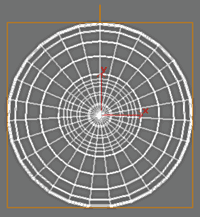
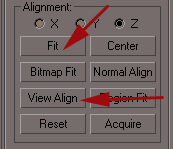
Apply a Planar Map in face mode. Adjust the mapping Gizmo with View Align and FIT. |
|
 |
||
 |
||
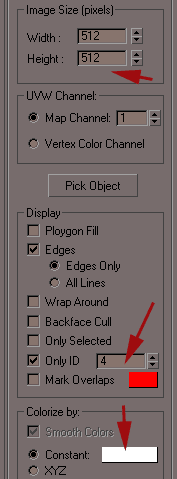 |
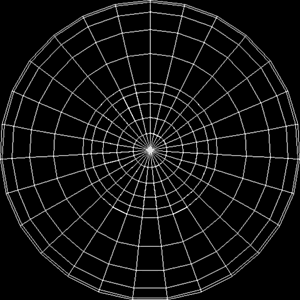
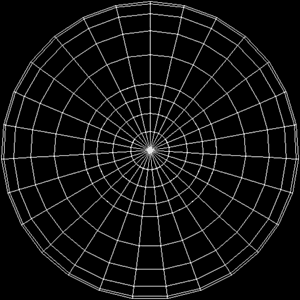
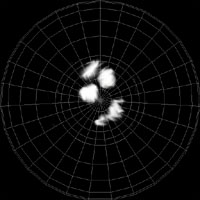
With Texporter (see more details here ), enter 512x512 for the size of the texture, then capture Only ID 4 to recover the UV of the eye and Only ID 5 for the Cornea |
|
 |
 |
|
|
On left the UV of the Cornea and on the right those of the Eye. Now goto Photoshop and begin textures according to these guides. |
||
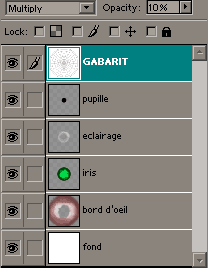 |
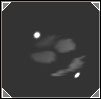
In Photoshop, place the Guide image of UV on a Layer and apply negative or invert color, using Multiply mode will give us the transparent white. |
|
 |
||
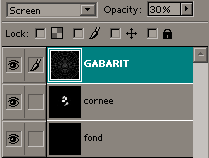 |
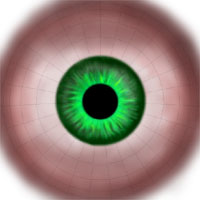
Make the reflections in the same way for the texture of Outer Eye, but this time use the Guide image in Screen mode to have the transparent black. |
|
 |
||
 |
Save the textures in TGA, TIFF or PNG format and KEEP the Original PSD files with all the copies. |
|
 |
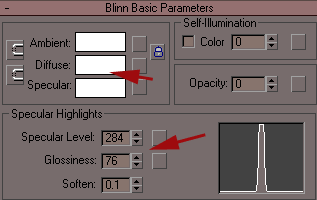
And in Checker ID 5, set the colors to white as opposite, boost the specular and place the texture bitmap in the Reflection channel this time, with a value of 20% or less. This way makes it possible to add reflections on the cornea without having recalculate an exact calculation of the raytrace environment... |
|
 |
||
 |
||
 |
Adjust the orientation of the eyes (the second eye is a simple copy not a mirror of the first). |
|
 |
 |
|
 |
||
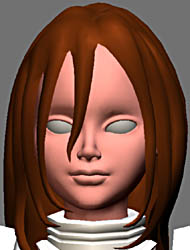
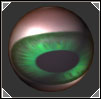
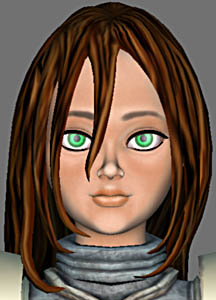
Some renders with basic scanline. |
||