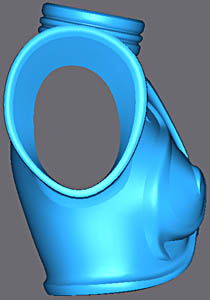
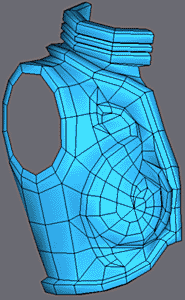
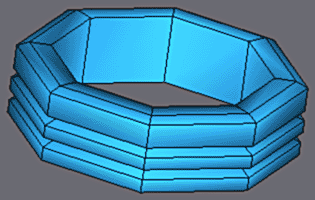
Modeling of the armour of the bust. |
||||
   |
||||
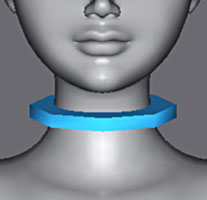
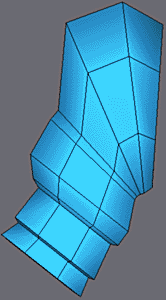
This time, we are tackeling a large piece of work, with the sword it is undoubtedly the object most difficult to model of this tutorial.
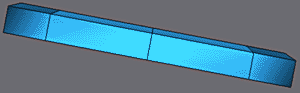
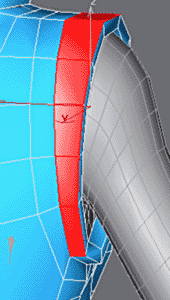
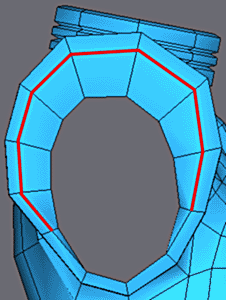
Make a Cylinder Primitive for the top, with 8 side dimensions. Position as on the image and Adjust its proportions. |
||||
|
||||
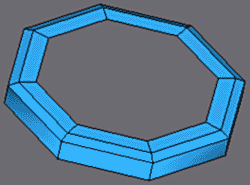
Extrude and make Bevel on the polygon of the top, made then a withdrawal move. |
||||
|
||||
 |
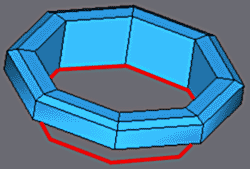
Erase the central polygon, and extrude downwards in the axis of the object, i.e. by activating the Local co-ordinates. |
|||
|
||||
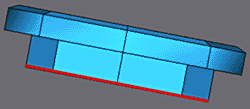
Make a series of Extrude/Bevels by preserving the same values. Finally remove the central polygon. |
||||
|
||||
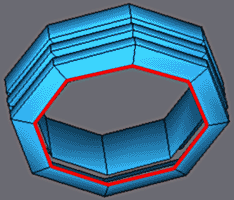
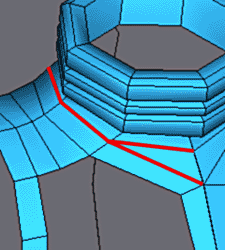
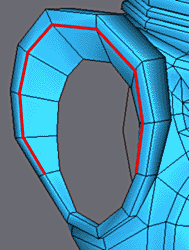
As we continue it is easier to erase half of the object and make a mirror copy. |
 |
|||
 |
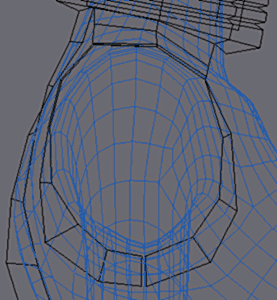
Adjust the vertexes of bottom. |
|||
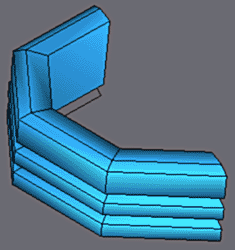
In the back, extrude the edges like opposite. |
 |
|||
|
||||
In the same way laterally, then adjust the vertexes so that surface follows the top of the body. |
||||
|
||||
Extrude edges and adjust the vertexes as shown, in front and behind. Weld the vertexes at the junction of the faces. |
||||
|
Continue with Extrutions to form the dimensions as shown. |
|||
|
||||
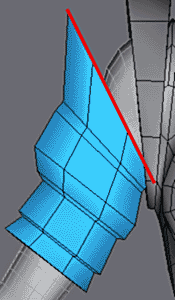
Lastly, complete the outer limits of the armour, always with edge extrudes |
||||
Extrude the front part towards the neck. |
 |
|||
|
||||
 |
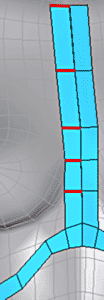
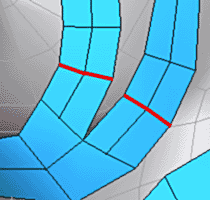
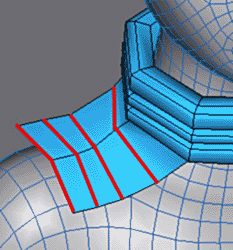
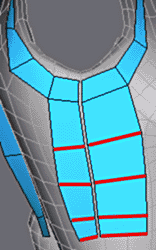
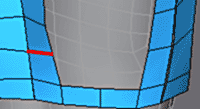
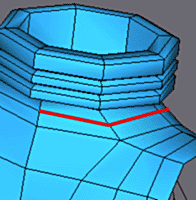
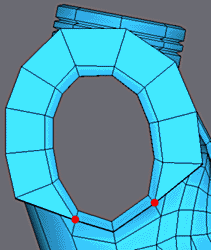
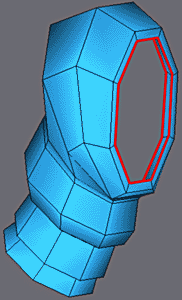
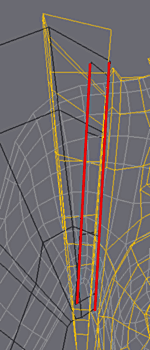
Insert a edge with Cut in bottom of the back and build the grid as shown.
Insert the edges vertically. Lastly, select the 2 vertecies in red and weld them into one. |
|||
|
||||
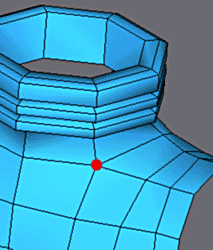
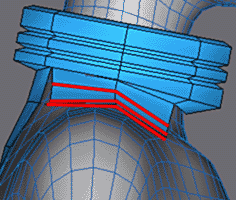
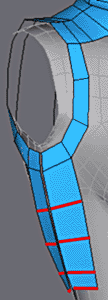
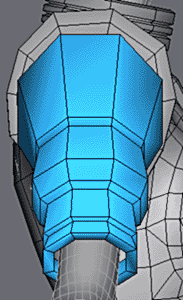
Build the polygon to connect the front part to the neck.
Insert with Cut the edges all around the neck. |
||||
 |
Add a division with Cut. |
|||
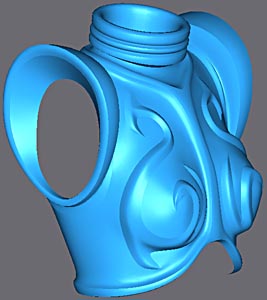
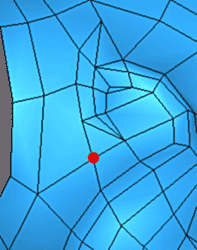
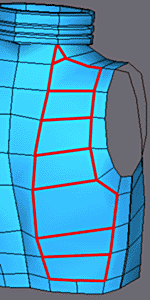
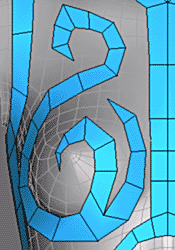
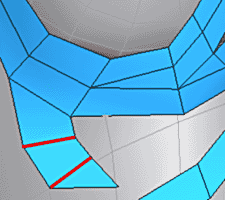
One now will model decorations on the front of the armor.
For that select a face and with shif+Move make an Element copy. Position there on the chest just away from the body. |
 |
|||
|
||||
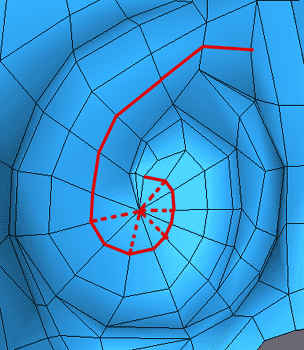
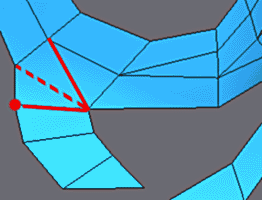
Then extrude the edges to make a snake of faces, for the point at the end, use Collapse Edge.
Adjust in the user view the vertexes to have a harmonious curve as shown. |
||||
|
||||
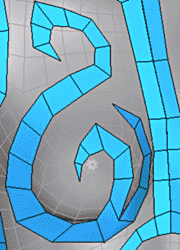
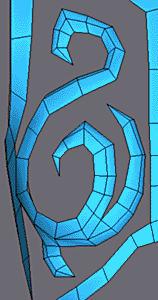
Insert a vertex with Divide into the edge, and continue to extrude the two curves.
The final result depends entirely on the care which you take to build this foundation, therefore try to spend some time here. |
||||
|
||||
Insert into the model central edges with Cut, after having activated the 3DSnap in MidPoint mode. |
||||
Insert two new divisions here. |
 |
|||
 |
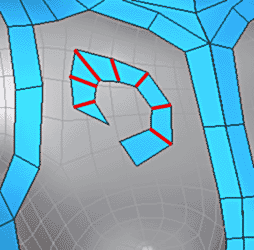
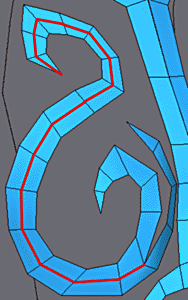
Lastly, insert a vertex with Divide and make visible the edges in red. |
|||
|
||||
Extrude the edges to build the point.
|
 |
|||
|
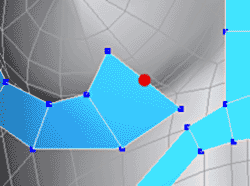
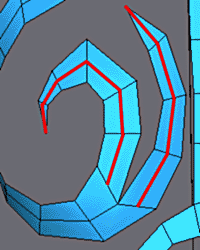
Make any additional vertex adustments to form nice rounded curves.
Add Meshsmooth to check out your fantastic bit of modelling :) |
|||
|
||||
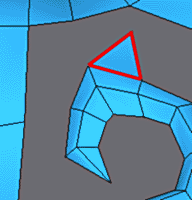
Finally to finish the decoration, add a triangle by extruding the edge and by collapsant it. Then make visible both edges like on the right. |
||||
Now it remains to build the faces to connect decoration to the remainder of the armour.
Go for as many quads as possible (rather than triangles) |
 |
|||
 |
Apply Meshsmooth to check the surface quality.
Possibly make any necessary vertex adjustments. Here the smoothing is not perfect so I added a vertex and arranged the edges. |
|||
 |
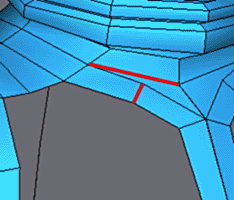
To improve the surface of this part, insert the edges in red with Cut.
Make invisible the edges shown in dotted lines. As usual, do not make vertex adjustments in the meshsmooth level |
|||
   |
||||
Select the faces in red and then Extrude/Bevel. |
||||
|
Erase the the faces shown in red before following the last extrusion.
They are not necessary as you will see when joining the two halves of the armour. |
|||
Extrude with Shift+Scale the faces opposite. |
 |
|||
|
Select the faces like on the left, apply Make Planar to have a quite plane surface.
Extrude as on the left Then angle the Faces with Rotate on Y |
|||
|
||||
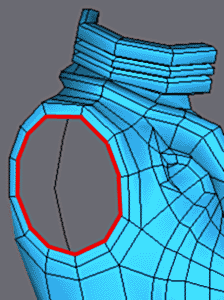
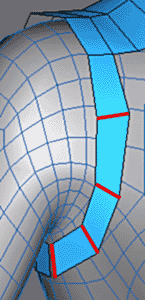
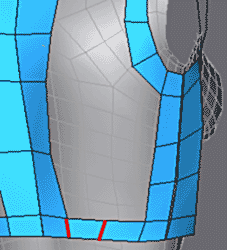
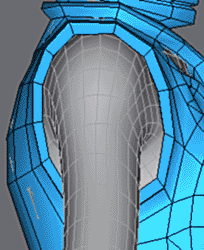
View the body against the amour and adjust the vertexes to increase the area under the armpitt. |
||||
|
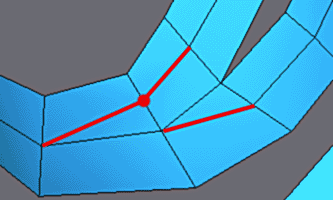
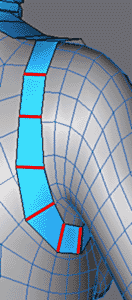
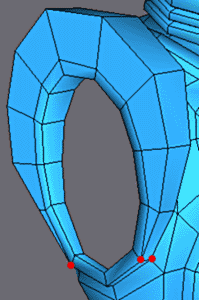
Select the faces in red. |
|||
  |
Extrude as opposite. |
|||
|
||||
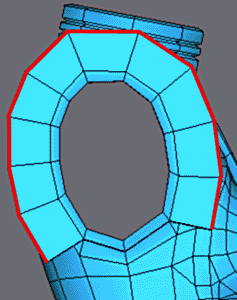
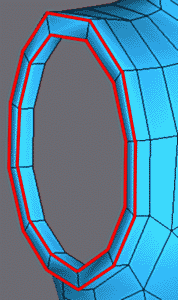
Weld with Weld Target the 4 vertexes at the bottom to have a connection as shown in the image.
Finally apply Make Planar to the faces to have plane surfaces. |
||||
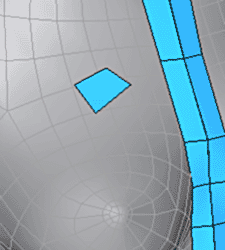
Simplify the geometry by welding the interior vertexes as shown opposite. |
 |
|||
   |
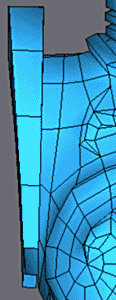
Insert a series of edges in front of and behind and move the vertexes to make an edge (use move with local axis selected) |
|||
|
||||
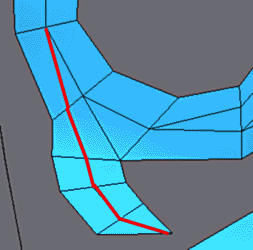
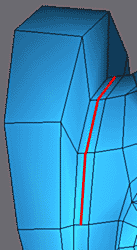
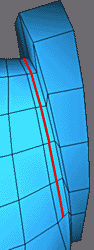
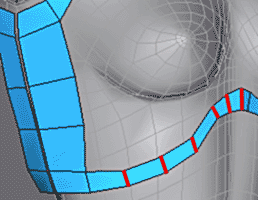
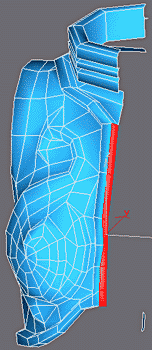
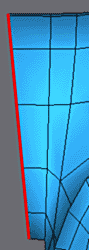
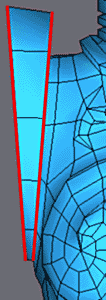
Move the edges in red towards the outer edge as shown. |
||||
|
||||
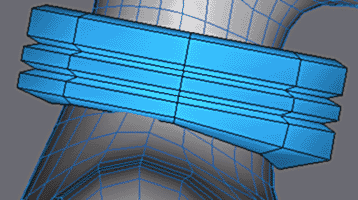
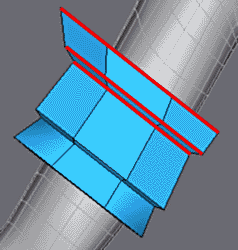
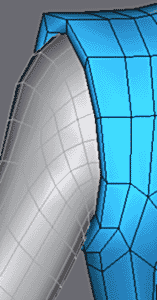
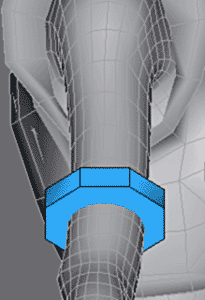
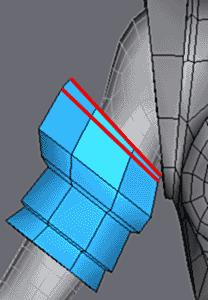
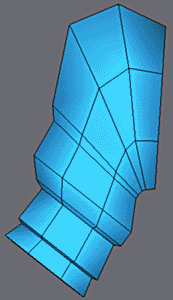
For the armour of the arm, start from a primitive cylinder with 8 dimensions, apply a rotation of 22.5° and adjust whilst compared to the arm like above.
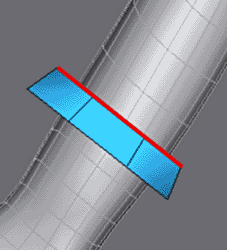
With a uniform scale, adjust the size of the face in red. |
||||
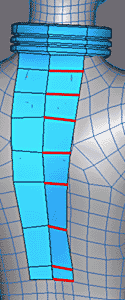
Make a series of Extrude/Bevels like opposite.
Adjust the new polygon as shown. |
 |
|||
  |
||||
anpther a series of Extrude/Bevels. Adjust the resulting polygons once more. |
||||
|
||||
In the same way make these two extrusions. |
||||
|
||||
Make an Extrude/Bevel and a rotation for face. For with dimensions, make non-uniform Scale on the polygon to narrow its section along the Y axis |
||||
|
||||
Make Extrude/Bevel. |
||||
|
||||
Finally to finish, three Extrude/Bevels with the shown edges to form the interior part. |
||||
|
||||
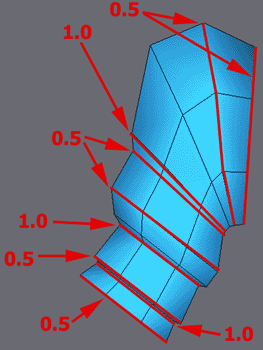
Here are the Crease values for the Edges in Meshsmooth. |
 |
|||
|
||||
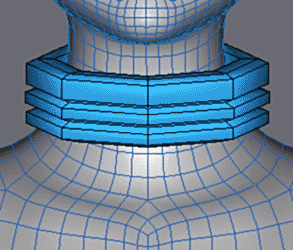
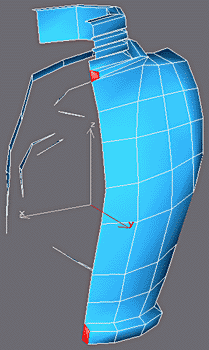
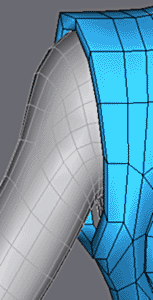
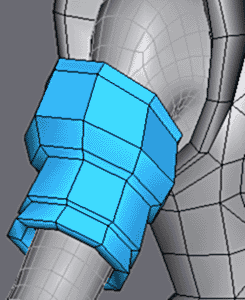
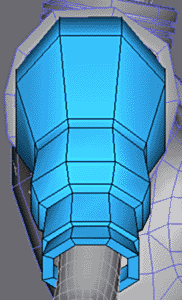
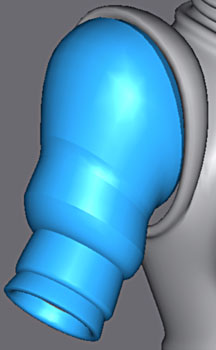
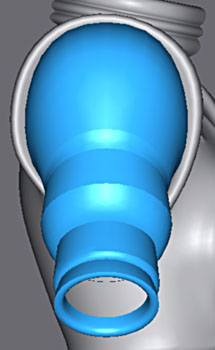
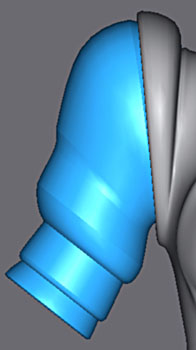
Finish the adjustments with the low poly cage to have a good alignment between the armour of the arm and the armour of the bust. |
||||
  |
||||
 |
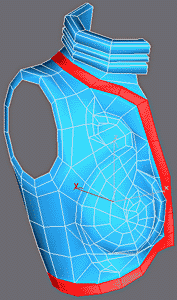
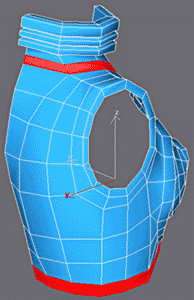
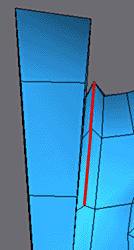
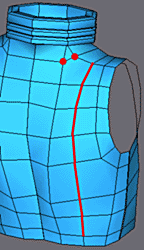
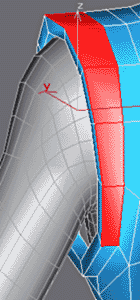
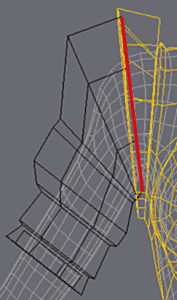
In the same way weld the two parts of the armour that for the body (see here ).
Here it is necessary to weld the object before setting the Crease weights. If one adjusts them on a half, after Attach the order of the edges in memory is modified and then the Creases are found a little everywhere on the mesh... |
|||


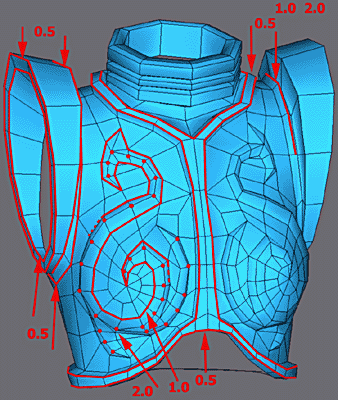 |
Values of Crease.
In addition to Crease, on the vertexes here on the decoration, Weight is added to accentuate the round-off. |
||
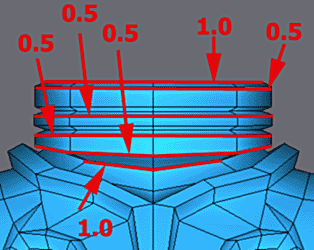
Value of Crease (continued). |
 |
||
|
|||
|
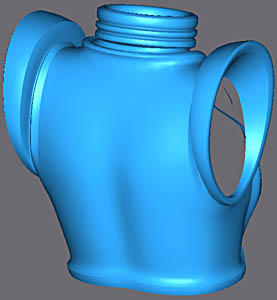
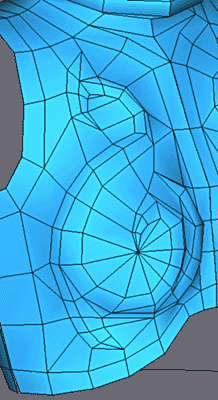
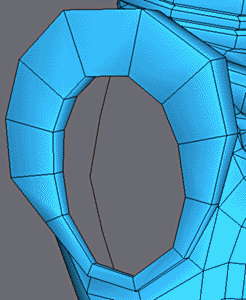
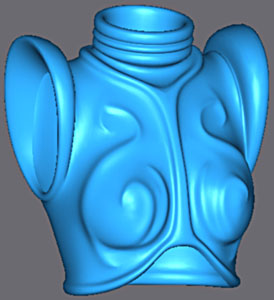
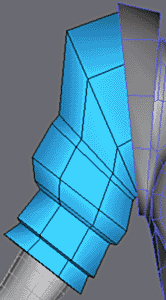
|||
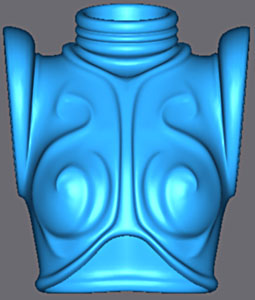
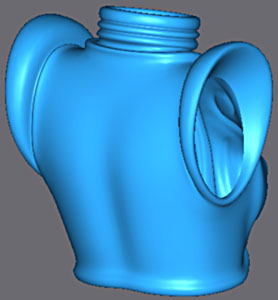
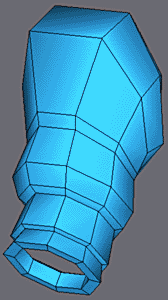
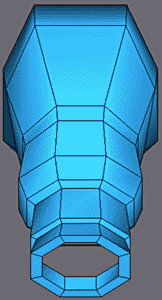
The armour of the bust finished in iteration 2. Click on images to see them large. |
|||