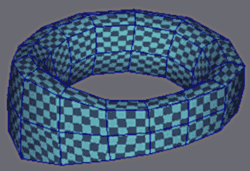
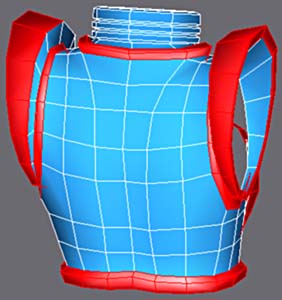
Mapping of the Armours |
||||
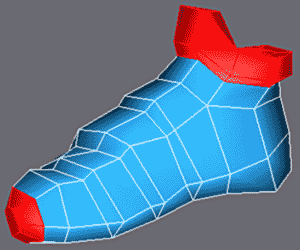
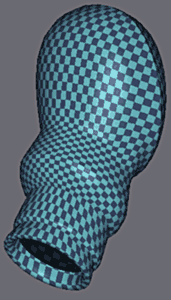
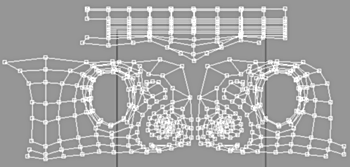
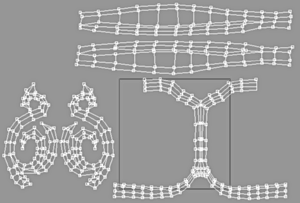
Let us now look at the parts of armor. |
||||
 |
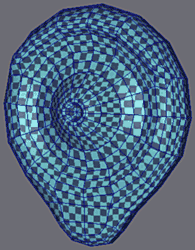
Create a Multi-Sub/Object material again with 3 Sub-Materials as shown. Always copy the same checker material. |
|||
|
||||
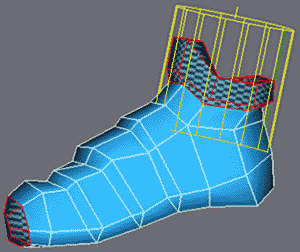
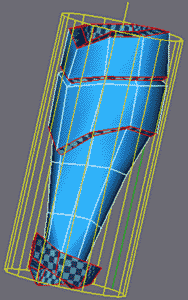
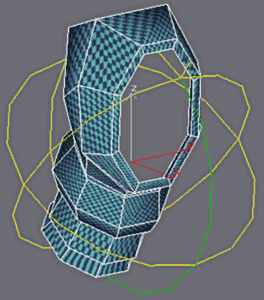
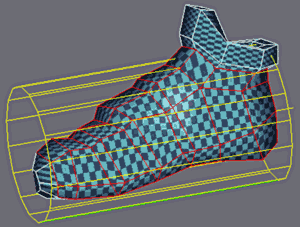
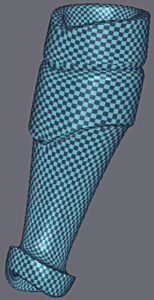
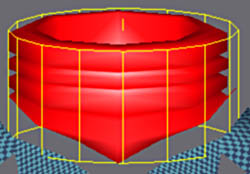
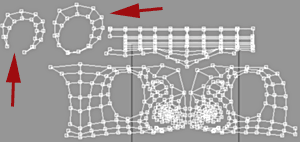
Select the faces that will receive the gilded metal. Map the Cuff and the Toe Cap with a Cylindrical Map {ID 3} centered on the ankle. |
||||
|
||||
The Soul of the Boot receives the Planer Map ID 2. |
||||
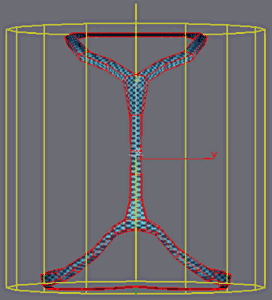
Finally the remainder receives the ID 1 and a Cylindrical Map with the seam directed downwards. |
 |
|||
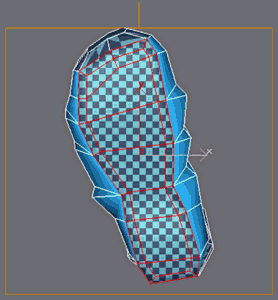
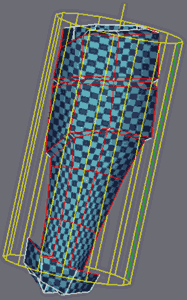
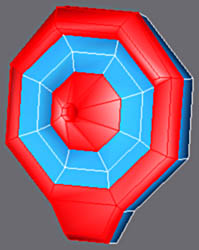
Aspect of the board of UV once the sets are separated. ID 1 the Boot. ID 2 the Cuff, ID 3 the Soul and 4 the Toe. |
 |
|||
 |
||||
 |
Make adjustments to eliminate any distortions.
Here we don't make a base texture, we will do it at the end once we have all the textured parts of armor. |
|||
|
||||
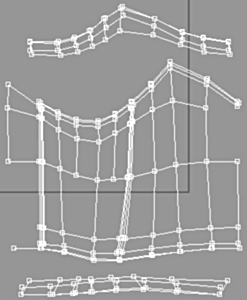
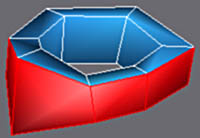
The Leg Protection on the left receives ID 3, the remainder ID 2. with Cylindrical Mapping for each. |
||||
|
||||
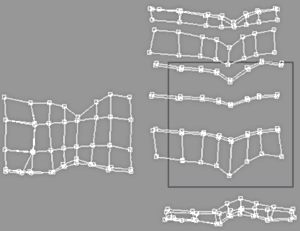
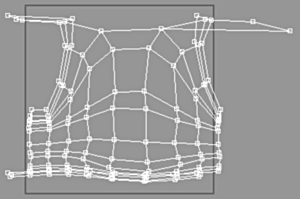
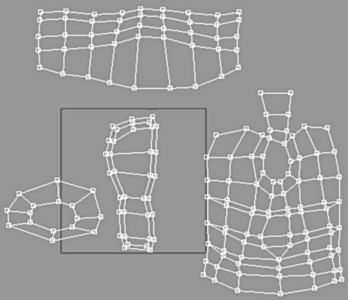
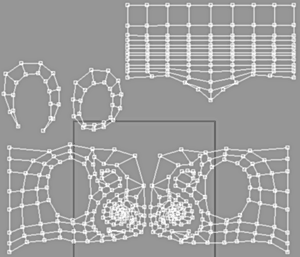
On top left the rough base, on the top right the UVs corrected and at the right dimensions as sighted in the viewport.
Here we separate the UVs, avoid having to worry about the texture in Photoshop, take care not to paint between the various materials and colors. |
 |
|||
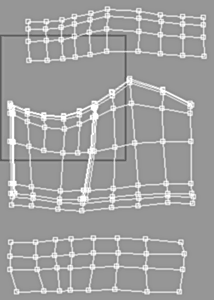
Select the Knee Protection as shown in red, Apply ID 2. We will apply ID 3 the remainder. Apply a Cylindrical Map to each ID. |
 |
|||
|
||||
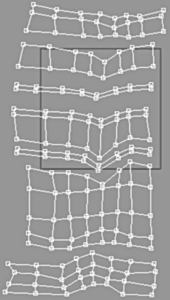
The base UV adjusted and the result in the viewport. |
||||
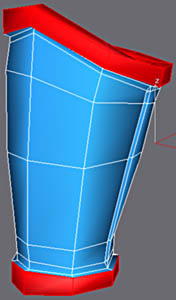
Now for the thigh armor.
The red part will be ID 3 and the remainder will be |
 |
|||
|
||||
With the UVs corrected the result is in the viewport with smoothing. |
 |
|||
 |
The knee protection with the red ID 3 and the remainder in ID 2.
For materials, a planar map for each one. |
|||
|
||||
The UV adjusted and smoothed object. |
||||
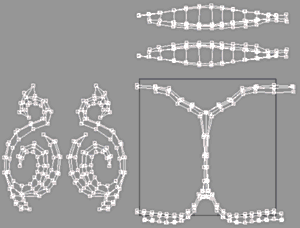
Side protection with the ID 3 in red and the remainder in ID 2.
There are two planar maps. |
 |
|||
|
||||
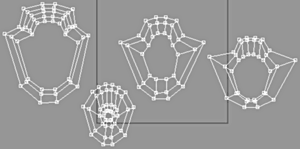
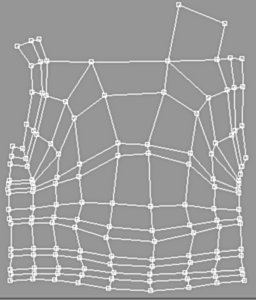
To the top left UVs as crude parts and on the top right after adjustments. To the right with the part smoothed. |
 |
|||
|
||||
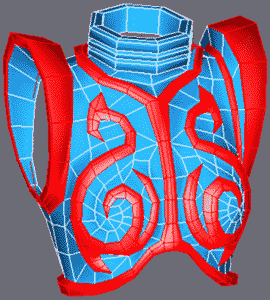
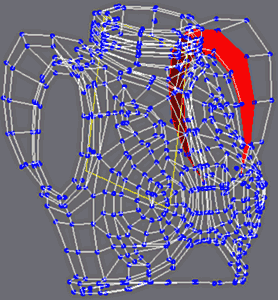
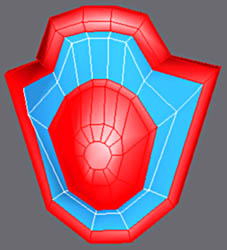
The large piece of the bust armor.
To the red faces apply ID 3 and the remainder ID 2. |
||||
 |
Select the faces with the ID 2 (select by ID) and apply a Spherical Map. The use of such mapping seems curious but it is this type of mapping that will give us fewer final adjustments. |
|||
 |
For the neck, use a Cylindrical Map. (It is far more effective on this part). |
|||
|
||||
Hide the faces with ID 2.
The left picture shows, the faces of Shoulder Protection selected. Apply a Cylindrical Map to this selection with the seam facing down. For the decoration on the chest, apply a Planer Map. |
||||
 |
||||
For the remains, a Cylinder Map will do nicely. Make the appropriate adjustments to all the faces. |
||||
 |
||||
In the UV Editor, Use Face Select mode and show ID 2 only then apply a UVW Unwrap. |
||||
|
||||
Select the faces of the dimensions shown above and apply a Planar Map. |
||||
 |
In the UV Editor move and adjust the new UV sets. |
|||
 |
Here we see the UVs adjusted for ID 2. |
|||
And now ID 3. |
 |
|||
Move and adjust as before. |
 |
|||
|
||||
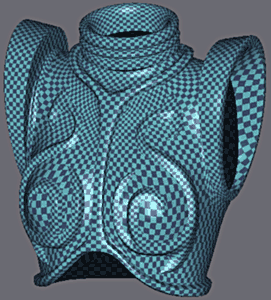
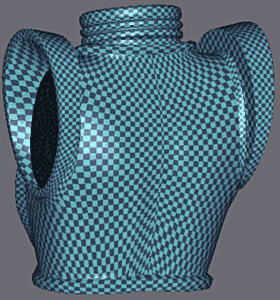
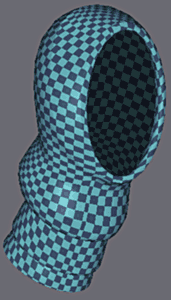
The Bust Armor smoothed with the finished UVs . |
||||
|
||||
For the Shoulder Armor, We use a Spherical Mapping as it suits this part better than Cylindrical. |
||||
|
||||
UVs before adjustments and after the final improvements. |
||||
|
||||
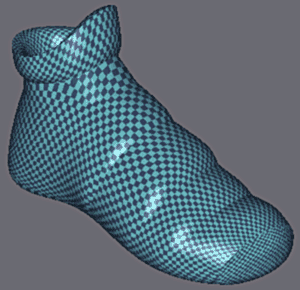
The piece smoothed and with the adjusted mapping. |
||||