Modeling of the hair |
||||
This part, is rather delicate in detail, as I prefer to produce a good quality mesh.
Technically the modeling of the hairstyle is not complicated, all the difficulty lies in modelling creases and curves. |
||||
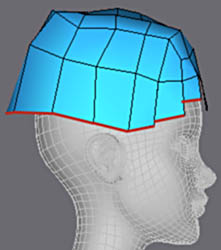
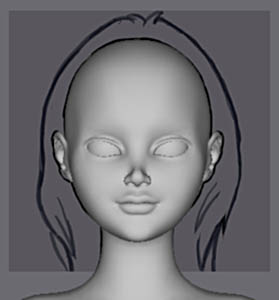
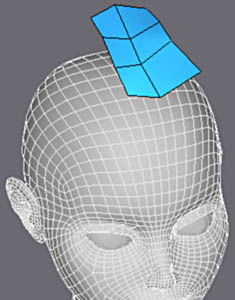
Initially, you can guide yourself by working from the drawing of the head of face.
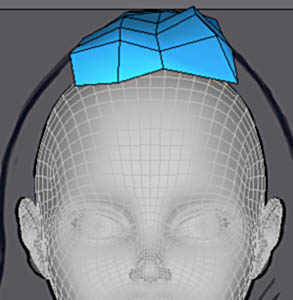
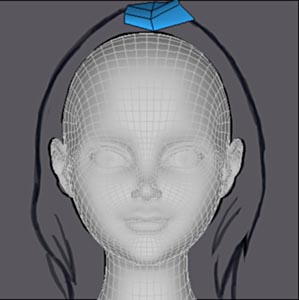
Create a rectangular face on top starting from Shape Rectangle, then add Mesh Eddit or you can collapse the stack into an Editable Mesh. |
 |
|||
|
||||
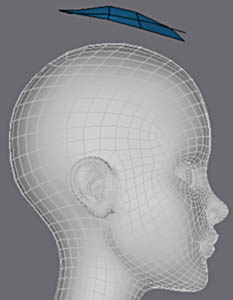
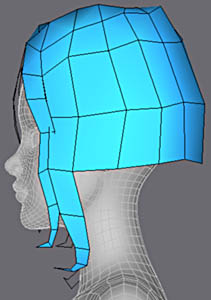
Using the top view, it is enough to initially extrude a edge towards the back of the head and then laterally like above. |
||||
  |
||||
 |
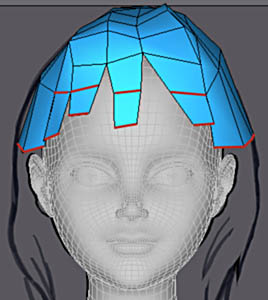
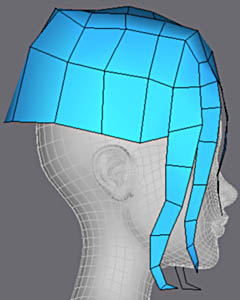
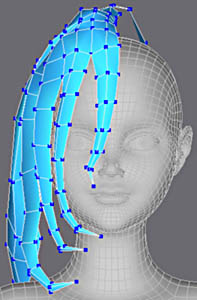
Adjust the verticies to start to give the form to the beginning of the hairstyle. |
|||
|
||||
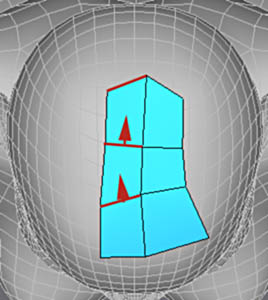
Select the outer edges with Select Open Edges and make an extrusion with uniform Shift+Scale.
Adjust the verticies. |
||||
|
||||
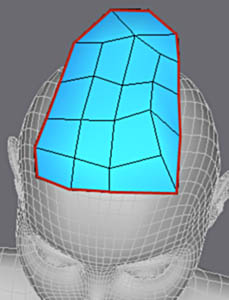
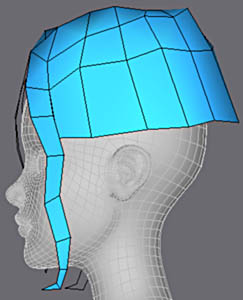
On the front of the head for the beginning of the mesh, it is enough to extrude in turn the edges like above. Make in the same the remainder of the edges but you can do all sets at one time. |
||||
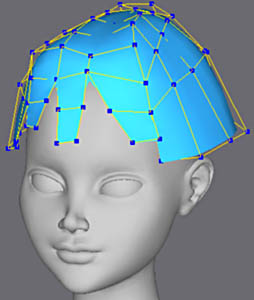
At this stage one can apply Meshsmooth and adjust the general form with LPM cage. |
 |
|||
|
||||
Extrusions of the mesh.
The end finishes at a peak, for that use Collapse Edge. Adjust the mesh well to give them 'nice' forms from every angle. |
 |
|||
   |
||||
Select the others edges on around the nape of the neck and continue with Extrude Shif+Move. |
||||
With activated Meshsmooth, stop to adjust the verticies of LPM cage. |
 |
|||
|
||||
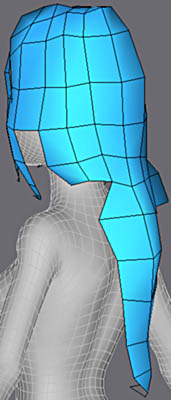
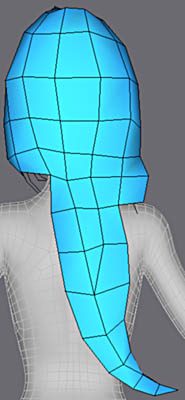
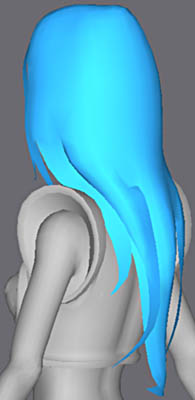
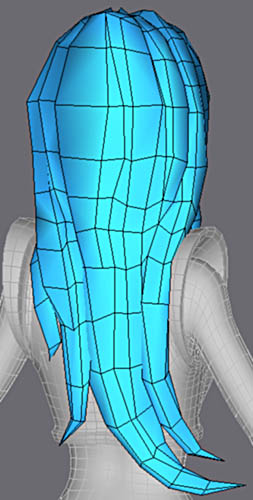
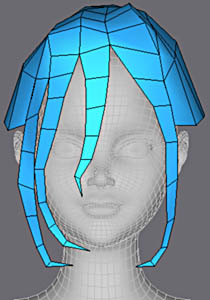
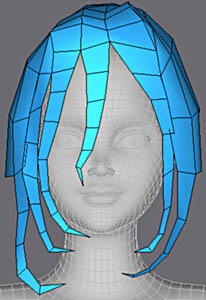
To form the large mesh at the back, is still carried out with extrusions. It should be noted that certain outer extrusions are stopped are early so you can go back and make them into a different strand |
||||
|
||||
Three strands each with large dimentions Here it is necessary to spend time to adjust the vertecies to give pleasant forms. |
||||
|
||||
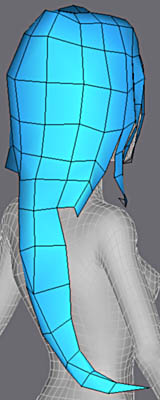
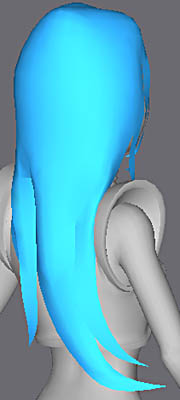
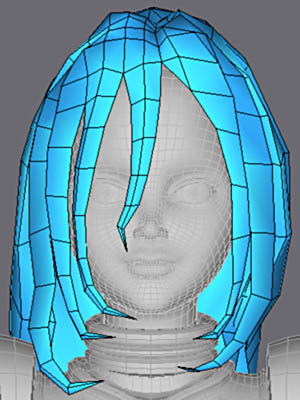
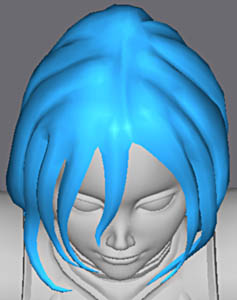
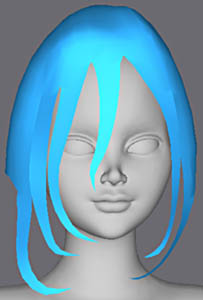
The hairstyle in initial version, with Meshsmooth Nurms iteration to 1. |
||||
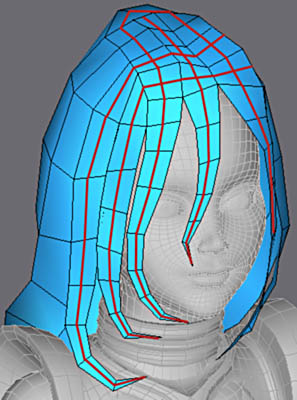 |
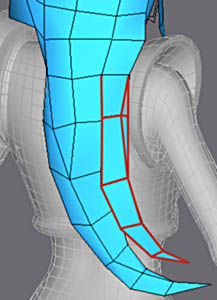
To finish modeling, it is necessary to add divisions along the wicks.
Use Cut Edges for that. |
|||
Make in the same way for the remainder of the hairstyle. |
 |
|||
 |
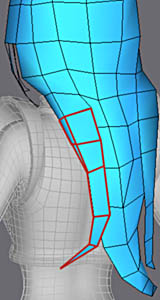
I would like to mention an irritating bug in max 4 that is present with the cut function.
The cuts have a tendency to not appear where your clicks instruct them to. To correct that, you can add one To modify XForm on the object and collapse the stack (delete any meshsmooth first) |
|||
|
||||
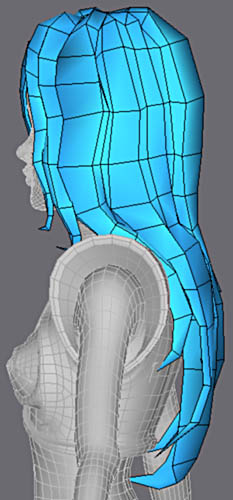
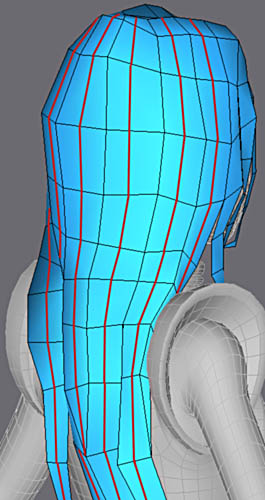
With all the edges inserted, to be able to effectively adjust the LPM cage it is practical to hide half of the faces of the hairstyle.
For that select the faces then click the Hide button. |
||||
|
||||
|
||||
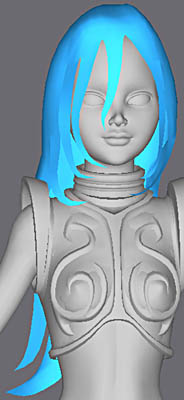
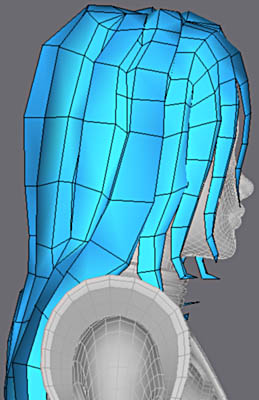
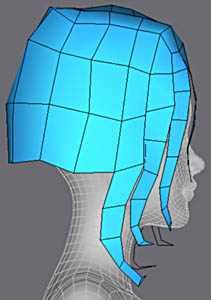
The hairstyle once all adjusted vertexes. This stage is not difficult technically but requires a lot of patience to result in a good form. |
||||
|
||||
|
||||
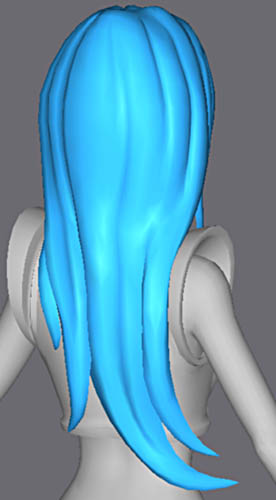
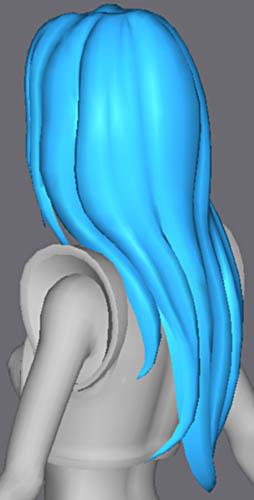
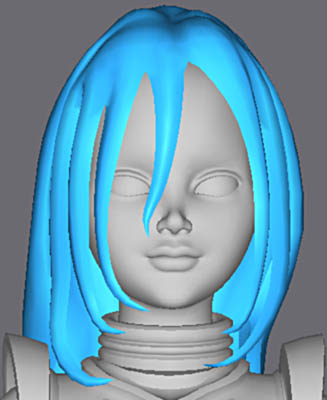
The result with smoothing iteration 1. Here the provisional material is in 2-sided mode, the faces thus render and show both sides disregarding their normals |
||||