Modeling of the Gloves |
  |
To modelling of a glove amounts to modelling a hand with some simplifications.
The starting object is a cubic primitive which one extrudes 3 times with dimensions to obtain 4 vertical divisions. |
|||
 |
Chamfer the edges at the top to prepare the separation of the fingers. |
||||
 |
Move downwards the vertecies of the triangular faces.
Then with Cut and Turn Edges complete the division as opposite. |
||||
  |
Move the vertecies up from the base then make 2 extrusions of bottom faces.
you now have the basic form to begin the palm and the back of the glove. |
||||
  |
|||||
This stage it is necessary to give it a more anatomical form, without building in too much of the details.
Throughout this tutorial, it is usefull to continually observe your own hand. |
 |
||||
   |
|||||
The index is extruded as above, Take care to place segements in the areas of deformation for when the skeleton is assigned.
Then with Cut Edge, insert a division around the center if the fnger as shown above |
|||||
   |
|||||
Make the details (arrows). You can apply Meshsmooth to have an idea of the final result and continue to adjust LPM cage.
It should be noted that the fingers are not parallel but radiate from a starting point located towards the wrist. |
|||||
|
|||||
Once index finger is completed, duplicate it by selecting its faces and with a shif+move make an Element copy.
Repeat the operation 4 times, adjust the orientation, size etc. For the end of the fingers, those are placed so the ends for a circle's arc |
 |
||||
|
|||||
Erase the faces in red, as this where the fingers will be welded with the hand.
Move to the top of this join the vertecies indicated by the arrows. |
|||||
|
|||||
Adjust the vertecies and align them with the function 3d Snap in vertex mode. |
|||||
|
|||||
Add divisions with Cut Edge to allow the welding of the fingers on both sides. (hide the other fingers by using Hide Element) |
|||||
|
|||||
Stop to align the vertexes and weld the model into one with Weld Selected.
Finish the adjustments by viewing Meshsmooth and working with the LPM cage |
|||||
|
|||||
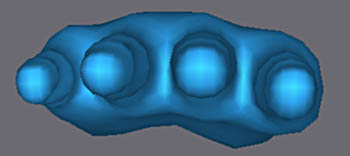 |
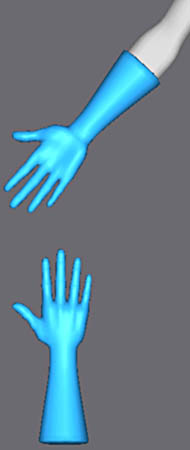
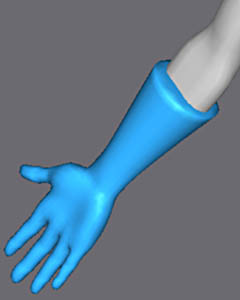
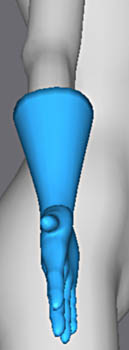
Aspect of the glove from different angles. |
||||
|
|||||
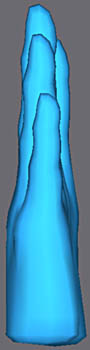
Extrusion of a face for the thumb.
After the first extrusion, make plane the rectangle, that improves the extrusions to come. |
|||||
|
|||||
As with the fingers, extrude the thumb completely and adjust the verticies to give a more anatomical form. |
|||||
|
|||||
|
|||||
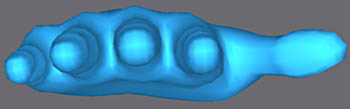
Aspect of the hand after adjustment of the thumb. This part takes time and skill so observe your own hand wel to get the llok right l:) |
|||||
|
|||||
Insert a division on both sides of the glove with Cut Edge. |
|||||
|
|||||
 |
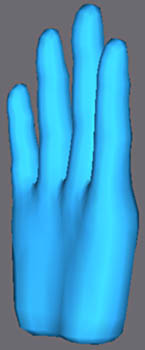
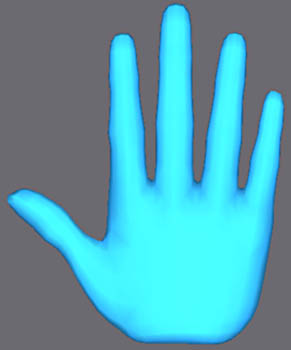
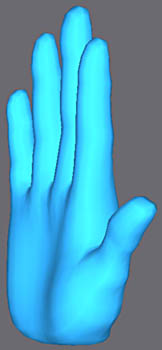
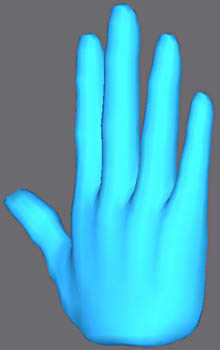
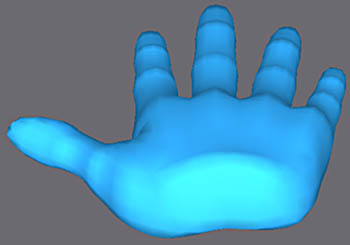
Aspect of the hand after smoothing. |
||||
Insert this division with Cut Edge. |
 |
||||
 |
Insert these divisions on the palm and make the dotted red edge invisible to form a quadrangle. |
||||
  |
Add an additional division at the base of the thumb. |
||||
|
|||||
|
|||||
Insert a division on both sides of the hand and with Collapse Vertex, eliminate the 2 triangular faces.
|
|||||
 |
Finish with divisions on the top of the glove as shown. |
||||
 |
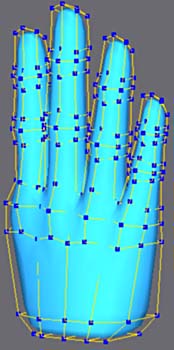
The look of the final LPM glove |
||||
 |
Subdivision with Meshsmooth set to 1 |
||||
|
|||||
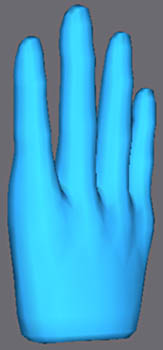
Aspect of the glove after smoothing. |
|||||
 |
Make these edges invisible and make Planar the polygon thus obtained. |
||||
|
|||||
Extrusion of the sleeve of the glove with Bevel to change the size. |
|||||
|
|||||
This stage it is necessary to place the glove on the body of Joan for the adjustments. Set the appropriate scale to match the body see above, only the Instance copy of the glove is positioned, the original remains in place because this position is more practical as this time to continue modeling. |
 |
||||
 |
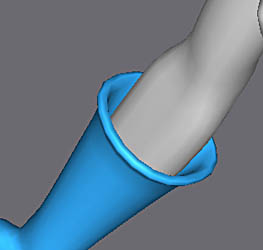
Adjust to make more regular if necessary and then extrude the edge to form this lip. |
||||
 |
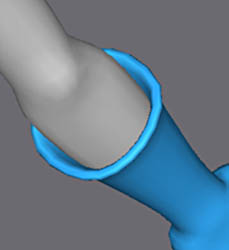
Lastly, Extrude back the interior of the sleeve. |
||||
|
|||||
Aspect of the glove on the positioned copy.
|
|||||