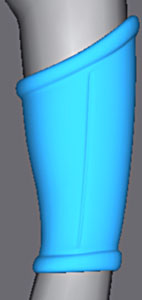
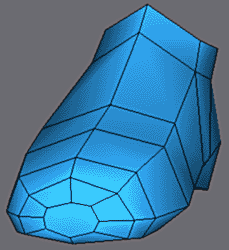
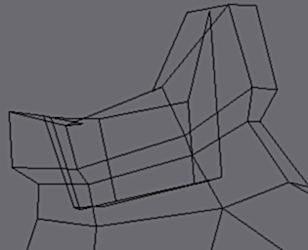
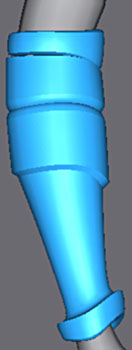
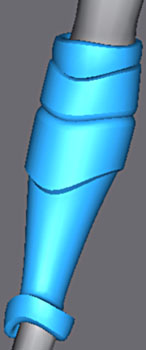
Modeling of the armour of the legs. |
|||||
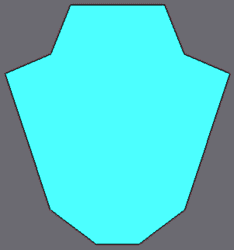
To model the accessories you need be able to permanently see the picture of Joan.
|
 |
||||
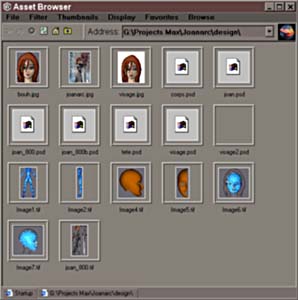 |
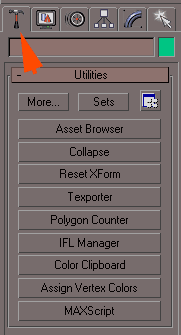
Asset Browser makes it possible to visualize display files, the ones supported by max.
It also allows you to surf on the Net in a window of max but it is necessary to have a large screen for really benefitting from it. Click on Joan in the folder where you saved the image. |
||||
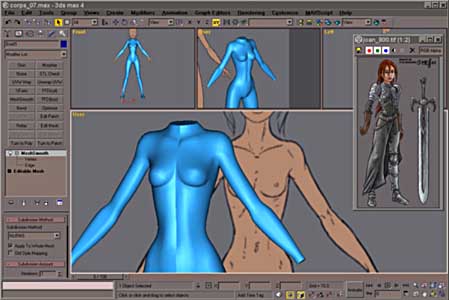 |
There is now a window with the image always visible .
You are now ready to start. |
||||
  |
|||||
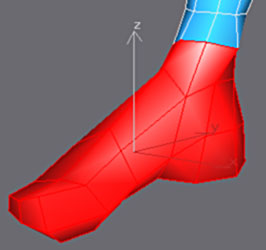
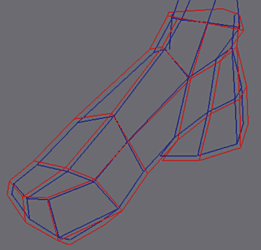
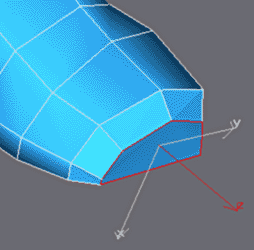
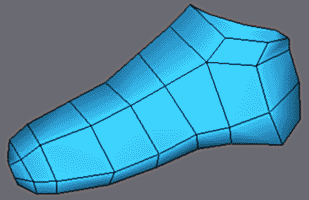
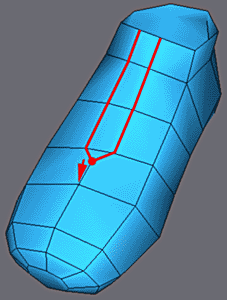
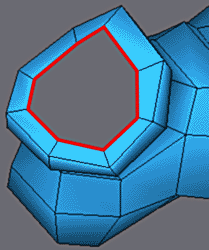
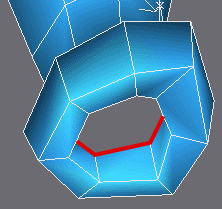
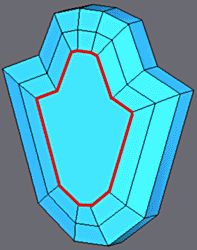
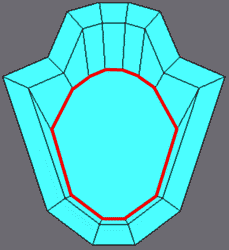
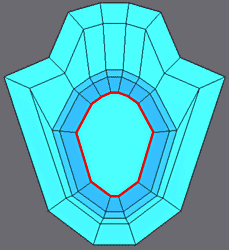
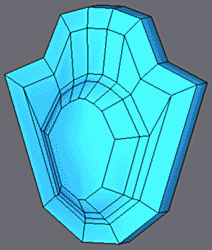
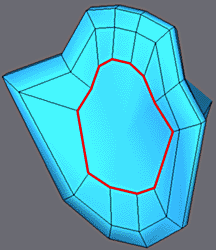
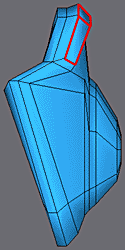
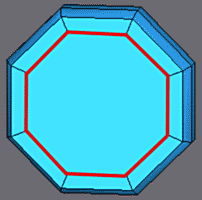
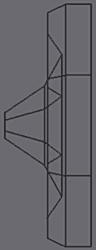
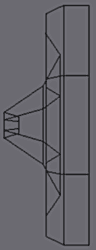
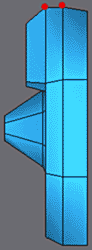
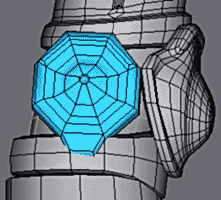
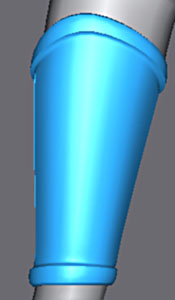
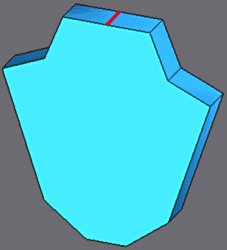
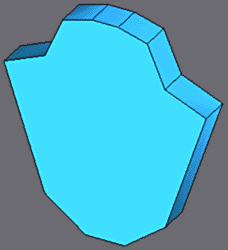
For the parts of the leg armour you will use a detatched foot from the body mesh.
This is a time saver. For that, select the faces in red like above and make Detach by ticking Detach Have Clone. That creates an object with the faces selected while preserving the intact starting object. |
|||||
  |
|||||
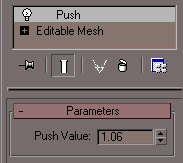
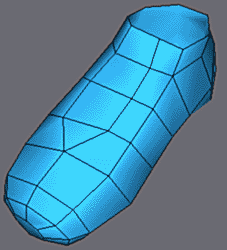
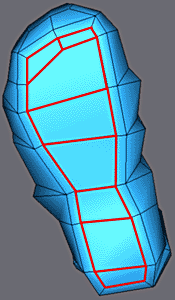
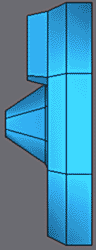
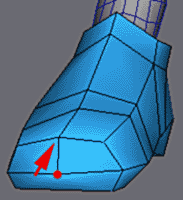
The shoe must cover the foot perfectly, apply a modifier Push to the object and vary the value of Push to "inflate" the grid. With the difference of Scale which increases the volume of an object compared to a fixed point, Push increases volume according to the direction of the normals of each vertex. The object dilates. |
|||||
  |
|||||
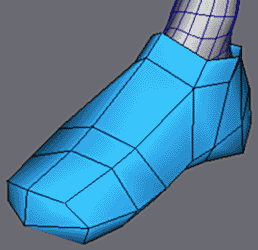 |
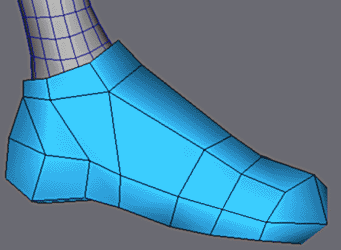
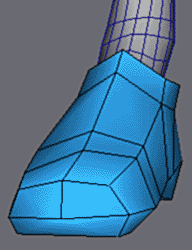
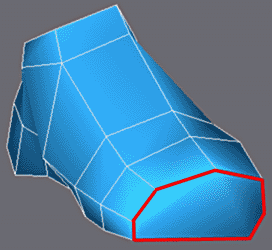
Adjust the vertexes to give a good form to the shoe. |
||||
|
|||||
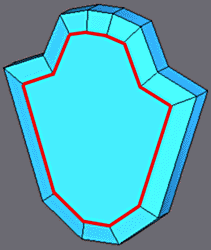
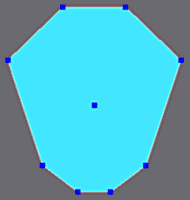
Simplify the geometry by welding the vertex of the model (weld target) to form a polygon at the end. Also make in align to a flat plane. |
|||||
  |
|||||
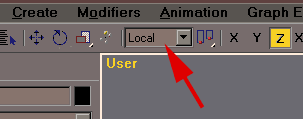
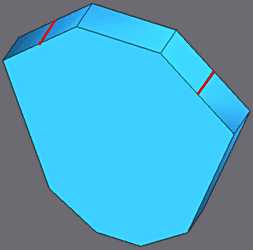
| Extrude this polygon in local mode (extrudes local) and apply Bevel. It should be noted that one can improve the Extrudes thereafter by activating the Local axis Move, axis Z representing the direction of extrusion (and also the normal of surface). | |||||
  |
|||||
 |
Extrude and Bevel again.
Adjust the vertexes to have this form. |
||||
|
|||||
Insert vertexes with Cut like shown and finish the round-off of the point of the shoe. |
|||||
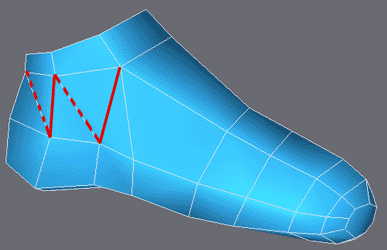 |
Make visible the edges in red and invisible the edges in dotted lines. |
||||
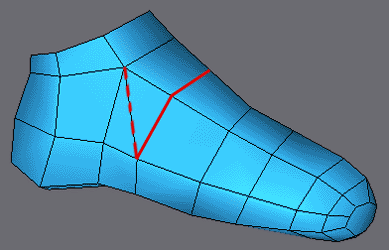 |
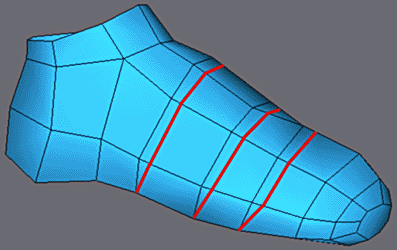
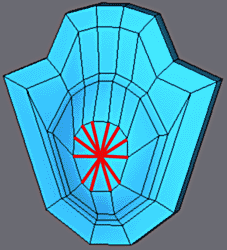
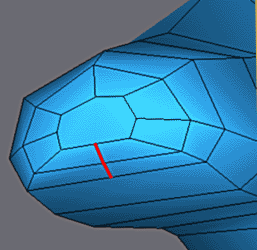
With Cut divide the faces as opposite.
Hide the dotted edge. |
||||
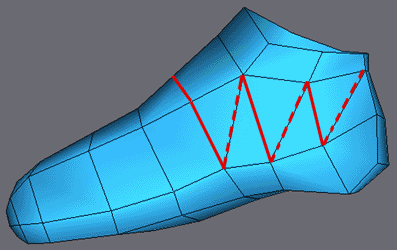 |
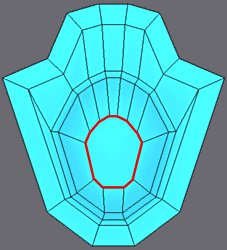
Similar operations for the inside of the shoe.
You find you have a maximum of Quads which is always good for future smoothing. |
||||
  |
|||||
 |
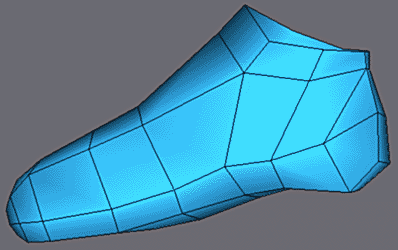
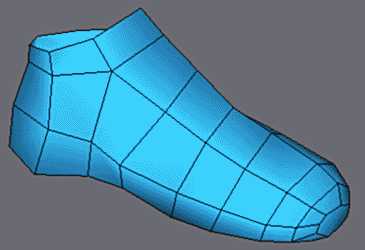
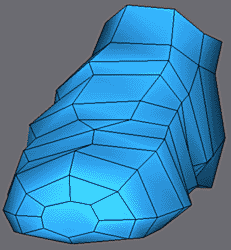
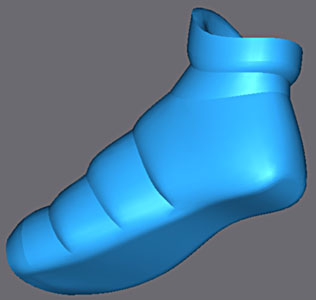
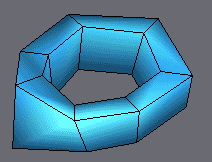
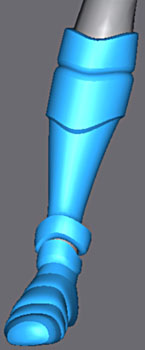
Aspect of the shoe. |
||||
  |
|||||
With Chamfer Edge, duplicate like above and weld the extreme vertex with Weld Target. |
|||||
 |
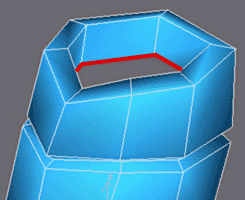
Insert the edges in red on the top as shown |
||||
 |
|||||
 |
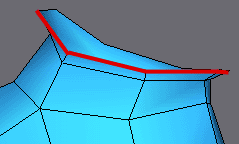
Adjust the vertexes as on the images |
||||
  |
|||||
|
|||||
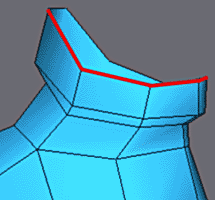
On the part of the ankle, extrude and adjust the edges as on the images. |
 |
||||
|
|||||
Cotinue as here. |
 |
||||
For the edge, uniform Shift+Scale to extrude inwards
Adjust to have a regular edge. |
 |
||||
|
|||||
Finally to finish, a last extrusion downwards to simulate the interior of the shoe. Adjust the vertexes to result in a more regular form. |
|||||
Make an extrusion for the sole with one Extrude and Bevel only. |
 |
||||
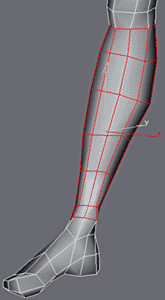
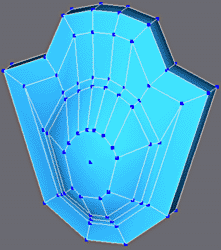
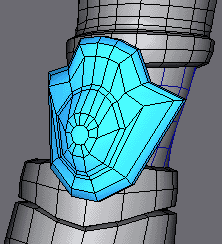
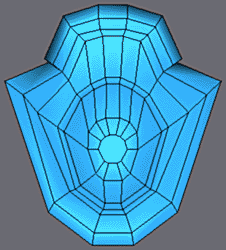
To preivew the final mesh after smoothing, apply Meshsmooth temporarily.
Possibly adjust the vertexes of the LPM cage to give a more regular form. (see here for more precision ). |
 |
||||
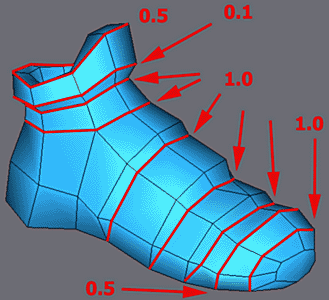 |
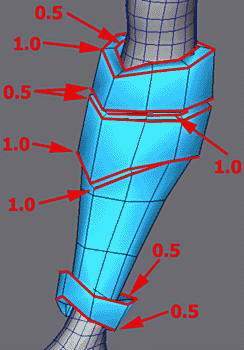
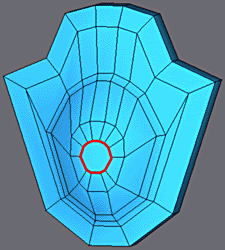
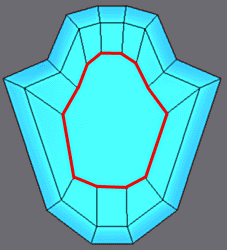
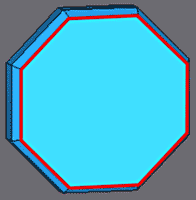
Here are the Values of the Crease parameters in the Meshsmooth modifer.
|
||||
 |
|||||
  |
|||||
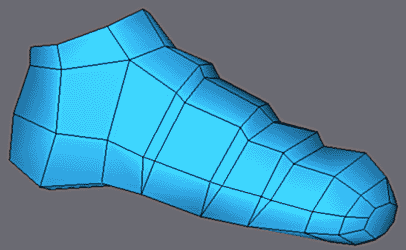
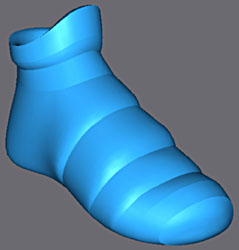
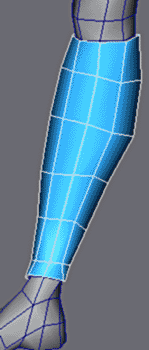
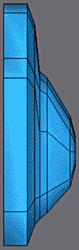
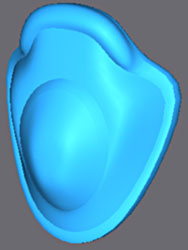
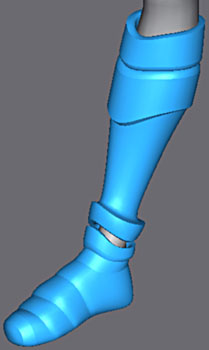
The look rf the show with finalised creases. As usual preserve the intact stack with Editable Mesh and Meshsmooth. |
|||||
  |
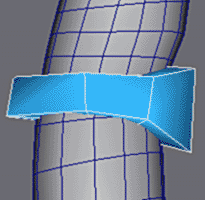
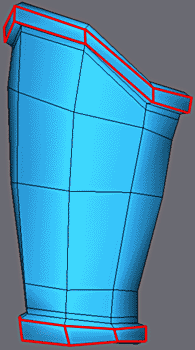
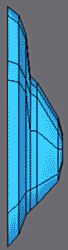
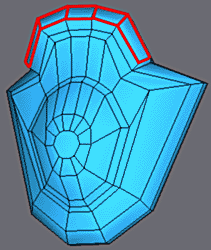
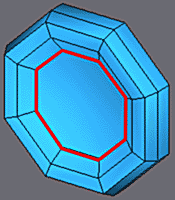
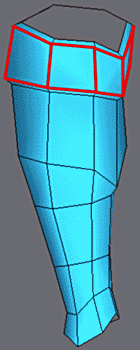
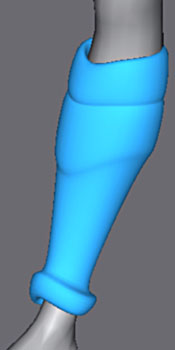
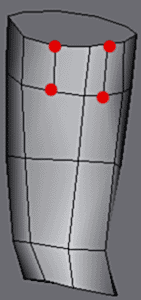
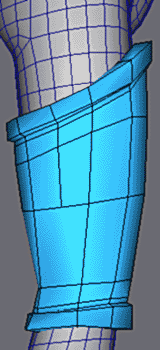
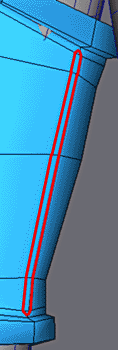
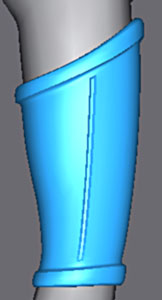
Similar procedure for the armour of the leg, select the faces in red, Detach to a Clone and apply Push. |
||||
|
|||||
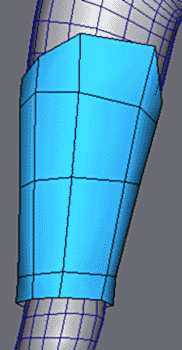
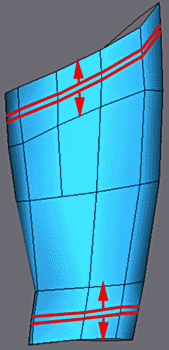
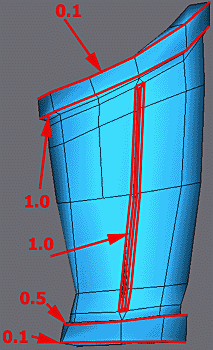
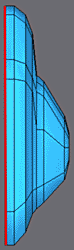
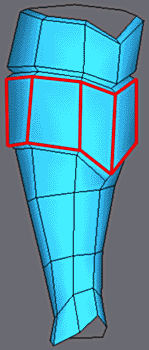
Adjust the vertexes like above in the front views, with to obtain these dimensions. |
|||||
|
|||||
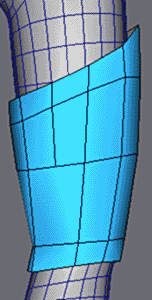
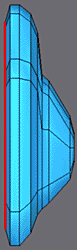
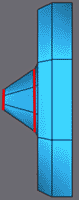
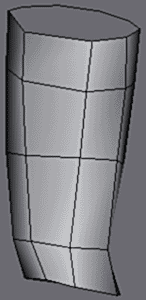
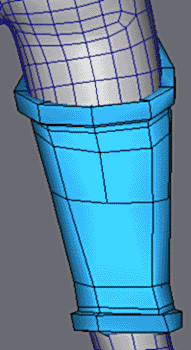
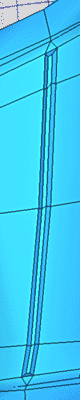
Extrude the faces as above each time with Bevel. |
|||||
  |
|||||
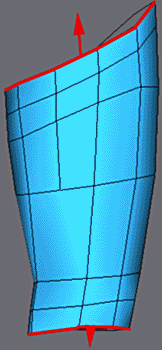
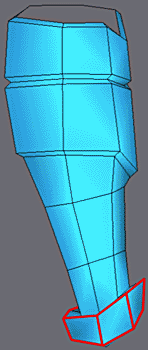
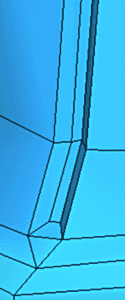
Extrude an edge then back for the interior. |
|||||
|
|||||
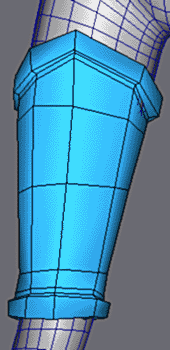
Apply Meshsmooth, improve the positions of the vertexes of the low poly mesh if necessary until you have a regular form from every angle. |
|||||
Crease Values to accentuate the edges with Meshsmooth. |
 |
||||
|
|||||
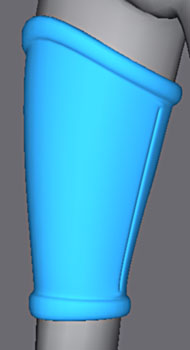
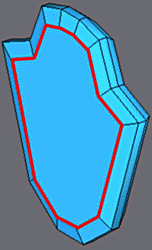
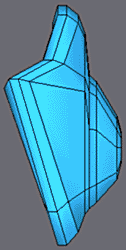
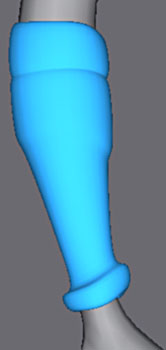
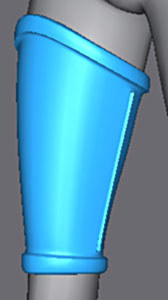
The armour of the finished leg. |
|||||
   |
|||||
For this small part of armour to the top of the legging, start from a primitive Tube with 7 dimensions and adjust as above. |
|||||
|
Finish the adjustment of the vertexes so it ties in with the legging. |
||||
|
|||||
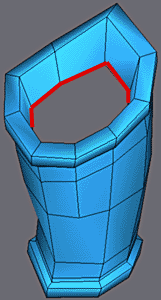
For the armour of the thigh, same procedure as before. Simplify the geometry by welding the vertexes marked in red (Weld Target). |
|||||
  |
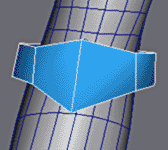
Start to adjust the armour like opposite so the faces have these dimensions. |
||||
Extrude the edges once at the top and bottom. |
 |
||||
With Chamfer Edge, duplicate the edges as opposite. |
 |
||||
Extrude and make Bevel on the band of faces in top and bottom of the armour. |
 |
||||
  |
Extrude the interior. |
||||
|
|||||
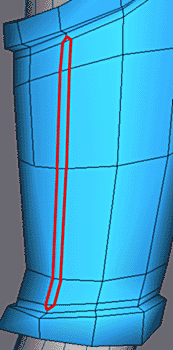
Make the adjustment according to the body, for with dimensions in each view |
|||||
|
Duplicate the edges on both sides armour. |
||||
Weld the vertex of each end as opposite. |
 |
||||
|
Finally Extrude and Bevel to build a groove. |
||||
  |
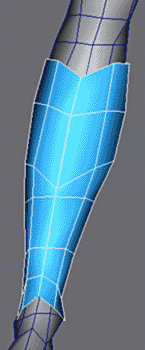
Apply Meshsmooth and finish the vertex adjustment |
||||
Crease values of Meshsmooth to accentuate the edges. |
 |
||||
|
|||||
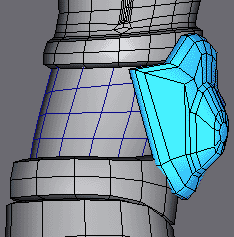
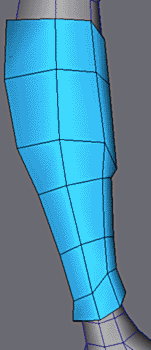
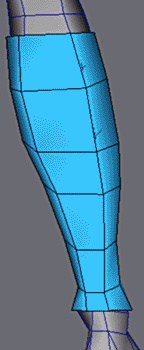
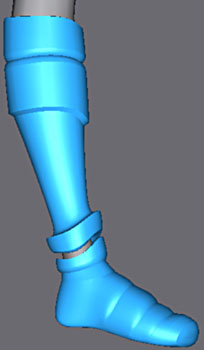
The armour of the finished leg. |
|||||
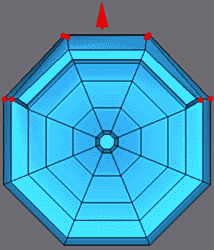
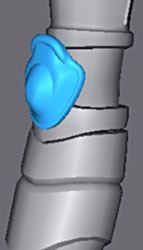
With the end of the knee protection
Make a primitive Cylinder 8 segments Apply a rotation of 1/16 of turn i.e. 22.5° to the y axis |
 |
||||
|
|||||
Adjust the form with non-uniform scale to preserve symmetry.
With the 3DSnap activated at MidPoint, insert vertecies as in top on the right. Adjust the new vertexes like above (Move on axis Z and non-uniform Scale on axis X for User). |
|||||
|
|||||
With the 3DSnap activated at MidPoint, insert vertexes as in top on the left.
Use Chamfer Edge to duplicate the edge. Adjust the round-off. |
|||||
 |
Extrude and Bevel the polygon. |
||||
 |
Repeat the operation once more. |
||||
Adjust the vertexes to obtain this form. |
 |
||||
   |
|||||
Extude and Bevel twice like above. |
|||||
  |
|||||
For face adjust the vertexes to obtain this form. |
|||||
   |
|||||
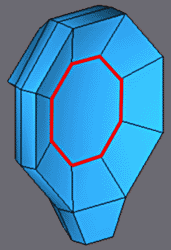
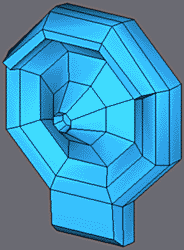
Make the edges visible in red and Chamfer Vertex to still insert a polygon and to finish the round-off. |
|||||
   |
|||||
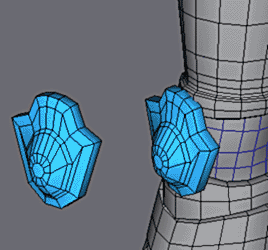
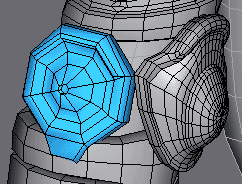
Make an instance copy of the model and place it in the correct possition on the knee of the body model
Continue to model the original object and the copy will be updated in real time. |
|||||
    |
|||||
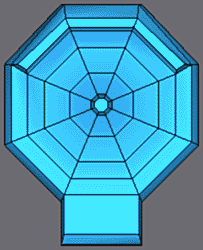
Reduce the thickness of the dimensions and extrude the polygon twice to obtain the result above. |
|||||
   |
|||||
Move the vertexes to obtain these dimensions and check the result on the copy in position. |
|||||
  |
|||||
Lastly, on the back part of the object, extrude and Bevel to form a hollow.
Finish by applying Make Planar to this polygon. |
|||||
  |
|||||
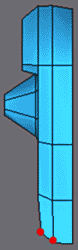
Select the vertexes in red and for User dépacez the worms before on the axis Y. |
|||||
  |
Extrude and apply a small Bevel on the faces in red. |
||||
   |
|||||
The object finished with Meshsmooth and some Crease. |
|||||
|
|||||
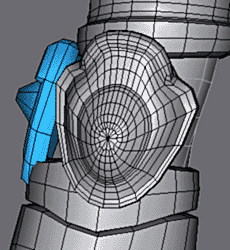
The copy in position on the knee. |
|||||
    |
|||||
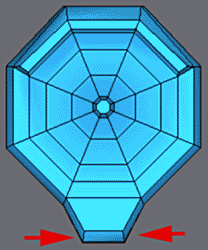
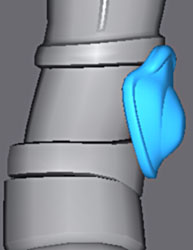
I added a part along the same lines of the design - a side protection to the knee.
From a Cylinder primitive with 8 dimetions, made a rotation of 22.5° on axis X Make 2 Extrude/Bevel for the to form this mesh above |
|||||
    |
|||||
A series of Extrude/Bevel like above. |
|||||
  |
With one negative extrude made the hollow at the point. |
||||
  |
More Extrude/Bevel. |
||||
  |
Adjust the vertexes as shown |
||||
|
|||||
Extrude the 2 faces of the lower part, adjust the vertexes as shown and make a non-uniform scale to narrow the base. |
 |
||||
Finally with the back of the object, Extrude to form hollow then Bevel. |
 |
||||
|
|||||
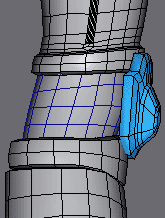
As for the preceding object, made an instance copy to place on the leg as on the images. |
 |
||||


