Modeling of the Accessories |
|||||
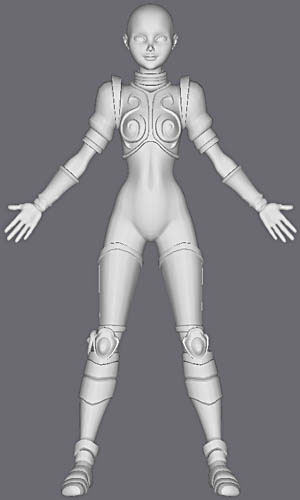 |
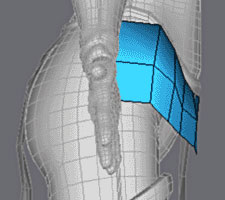
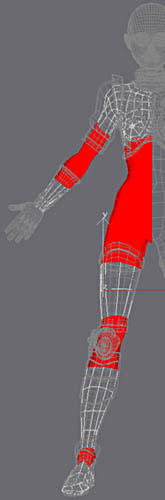
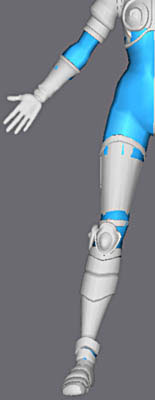
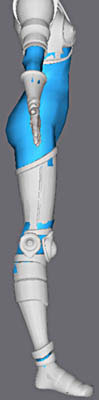
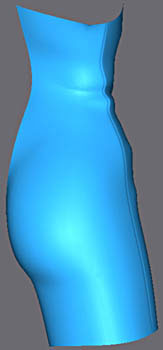
Joan is now equipped with the parts of the armour and the gloves.
The hair is hidden as is not useful in this part. The first thing to be added is the garments which are worn between and under the armour. |
||||
|
|||||
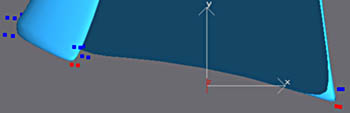
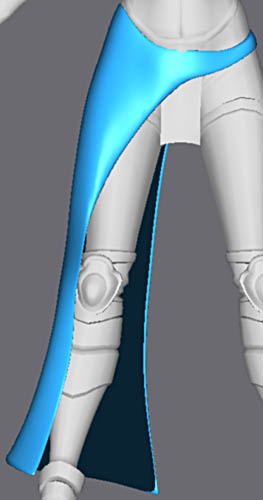
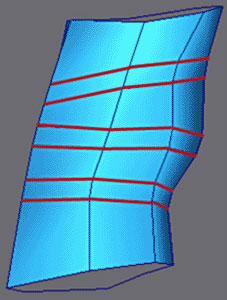
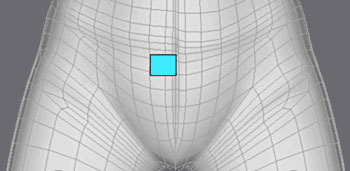
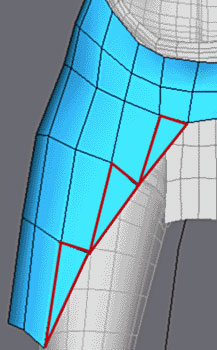
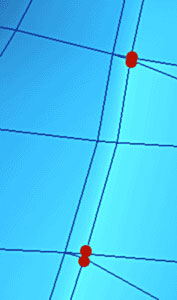
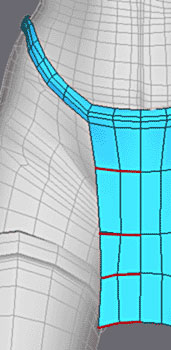
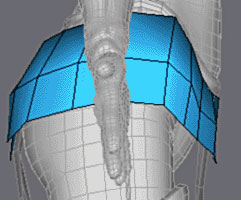
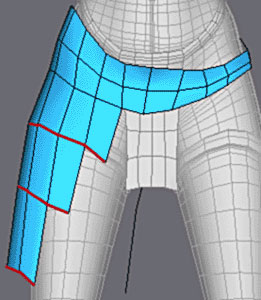
Select the faces in red, and use Detach faces. Choose 'As Clone' to keep the original body intact |
|||||
|
|||||
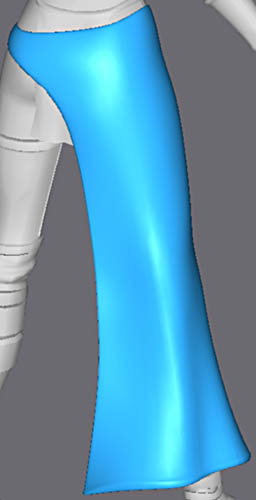
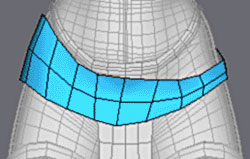
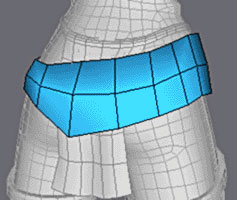
Apply Push to clothing, this makes it possible to inflate the mesh and thus evenly move it away from the skin.
(Push acts upon the normals vertexes whereas a scale acts upon the center of the object) It is ok that the cloths limits exceed parts of armours, we can adjust these later when meshsmooth is in the stack. |
|||||
|
|||||
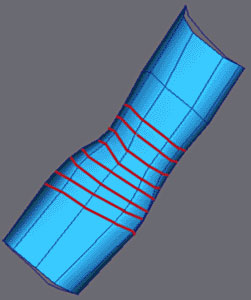
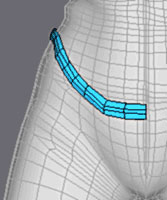
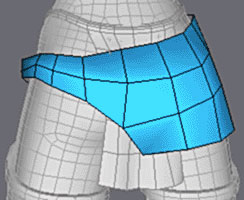
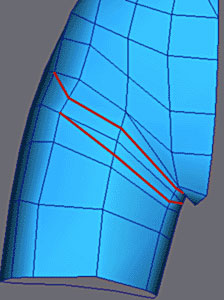
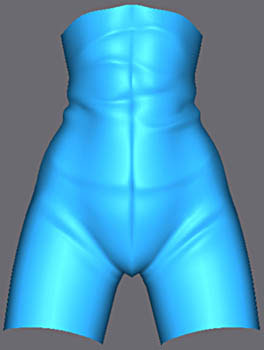
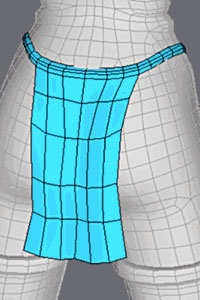
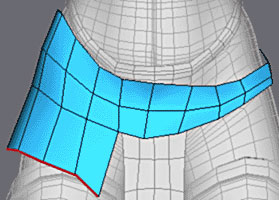
Insert edges into the groin to make the folds. |
|||||
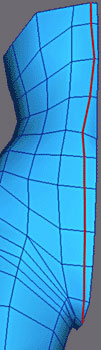
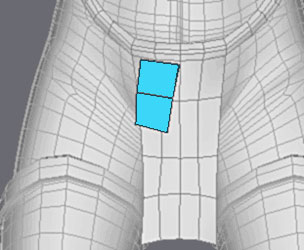
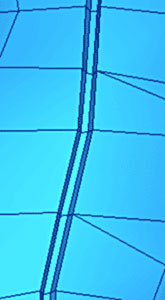
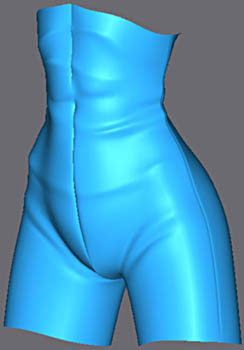
For the verticle/central seam, insert these edges. |
 |
||||
|
|||||
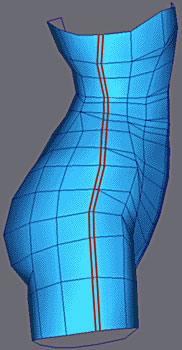
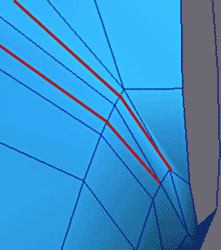
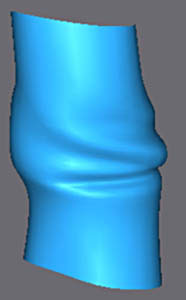
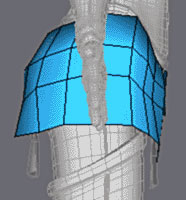
In the same way for the folds on the body. |
|||||
For this long seam use chamfer. |
 |
||||
|
|||||
Simplify the geometry by using collapse vertex, resulting in more quads and less tri's Finally apply one negative extrude |
|||||
|
|||||
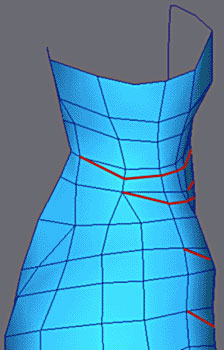
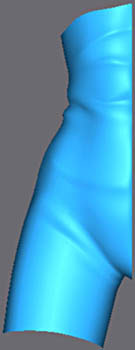
Apply Meshsmooth and adjust the vertexes which were added to model for the folds.
|
|||||
|
|||||
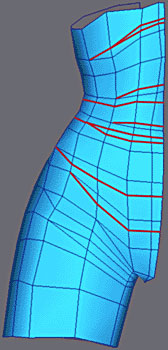
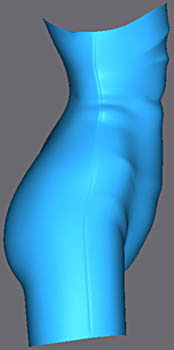
Make a symmetrical copy and then loose the symmetry of the folds by adjusting the vertexes once more. |
|||||
 |
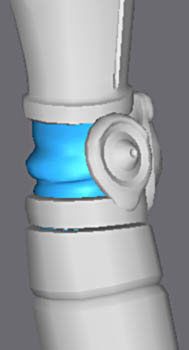
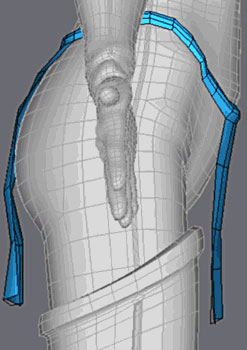
For the folds in the knee area, use the same method as before
Select the edges and apply Chamfer to duplicate them. |
||||
|
|||||
Adjust LPM cage to form the folds on the smoothed version. |
|||||
  |
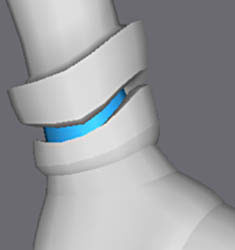
Finish and check the adjustment with the parts against armour. |
||||
|
|||||
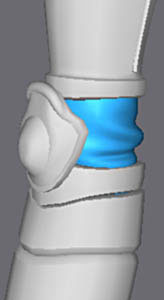
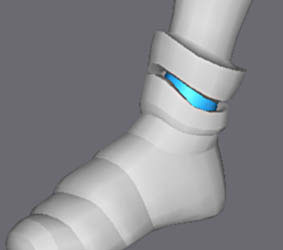
For ankle, nothing in particular is needed, just check the limits do not exceed the armour. |
|||||
As for the knee, an even procedure with duplication of the edges. |
 |
||||
|
|||||
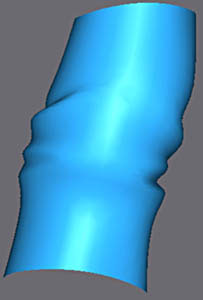
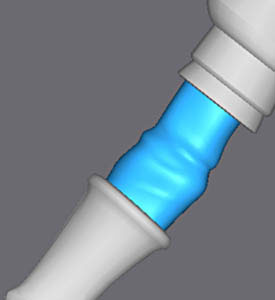
And adjustment of the folds whilst viewing the model with Meshsmooth applied.
|
|||||
 |
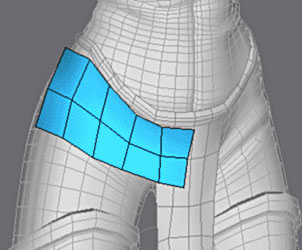
For the loincloth, start with a simple rectangle, this is a Shape Rectangle then converted into Mesh. |
||||
|
|||||
Extrude an edge to have 3 quadrangles. |
|||||
|
|||||
Extrude like above while following the form. |
|||||
|
|||||
Continue around and behind. |
 |
||||
|
|||||
 |
Extrude the fabric part in front and behind.
Apply Meshsmooth and finish the adjustments. |
||||
 |
For the skirt, start with a single quadrangle. |
||||
|
|||||
Extrude the edges. |
 |
||||
|
|||||
 |
Continue around the body and weld with the junction with Weld Target. |
||||
|
|||||
Extrude the side of the skirt down |
 |
||||
|
|||||
The extrusions of the front and back |
|||||
Additional faces with Create Face. |
 |
||||
|
|||||
Extrude the remainder of the skirt. |
|||||
 |
To make a better fininsh extrude the top as shown and round off.
|
||||
 |
On the bottom of the skirt, make a small edge extrusion |
||||
 |
An additional extrude as shown |
||||
|
Here we simulate the thickness of the cloth by forming the edge with another extrude |
||||
|
|||||
Weld the vertexes at the bottom on the edge, front and back |
|||||
|
|||||
Apply Meshsmooth and increase the Weight of the extreme vertexes to 3.0.
|
|||||
 |
|||||
 |
Lastly, finish the extrusion of edge on the high part with Shif+Scale. |
||||
 |
Weld the vertexes with Collapse Vertex. |
||||
|
|||||
Adjust the skirt with LPM cage and Meshsmooth. |
|||||
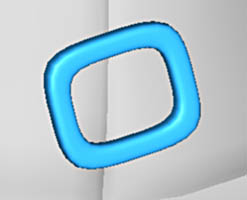
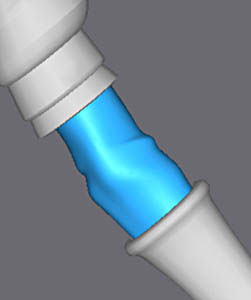
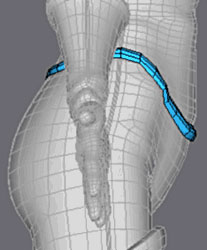
The loop of the belt now.
You start from a Tube primitive with 4 with dimensions and the other parameters set to 1. |
 |
||||
|
|||||
Apply Meshsmooth in Quad Ouput mode with an iteration of 1 and Strength at zero. That makes it possible to divide each face into 4 and keep good form for an additional Meshsmooth in Nurms mode. |
|||||
|
|||||
Position here |
|||||
 |
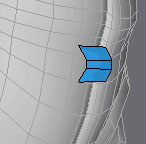
A new form of modelling begins for the belt
The extrusion of the mesh according to a spline. For that create a spline and set its points to Corner type. |
||||
    |
|||||
Complete the spline and move the points regularly around the waist |
|||||
|
|||||
In the front view, create a Rectangle Shape.
Then in the Create Panel select Compound Objects, select Loft |
|||||
|
|||||
In the part Method Creation, click on Get Shape and select Rectangle Shape.
Thus the rectangular form will follow the spline (the path). In Skin Parameters set Shape Steps and Path Steps to zero to obtain the usua LPM type. Remove Transform Degrade tick, that makes it possible to see in real times the modifications made to the spline and the starting shape. |
|||||
 |
|||||
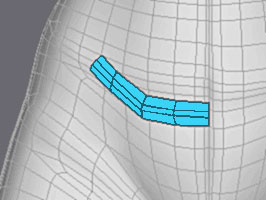
The shape that followed the spline is good but is badly directed |
|||||
|
|||||
To correct that, select the right-angled shape, and in vertex mode to apply a rotation in Selection Center mode. |
|||||
 |
|||||
Apply the rotation and watch the update of the orientation of the belt. |
|||||
 |
|||||
The belt may be poorly possitioned against the body in some places so you can adjust the verticies ods tge spline and view the update of the final model even with a Meshsmooth added as above.
You can even add more points of control on the spline with Refine The Loft function of max is very powerful and very flexible, it is in my opinion one of the most perfectected functions of this 3d software. A whole tutorial could be made only on this mode of modeling so much there are possibilities... |
|||||
  |
|||||
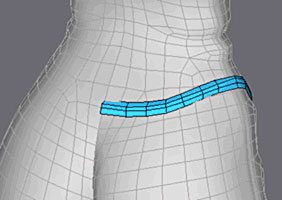
The belt after adjustments. |
|||||
|
|||||
The same proceedure for addtional belt sections. |
|||||
 |
Again a secone shape is rotated in vertex mode the set the orientation |
||||
|
|||||
The second belt after adjustments. |
|||||


 v
v